Showing posts with label tutorial. Show all posts

Tuesday, April 20, 2010

The finished Pink Pretty Lamp...

I shared earlier last week HERE my pretty pink lampshade transformation, now here is the completed project.  As I told you my partner Sharon was painting the lampshade.  I can't paint a stick figure, and she does absolutely beautiful work so she was in charge of the painting part of the project.  She did a wonderful job. 

Here's the lamps before Sharon began the project...


The lampshade (which I was in charge of) had matching green bias trim.


We wanted the lamp to be a pretty pink for our Tea Party Castle Display.  So Sharon started to work her MAGIC.
Doesn't she make it look easy?


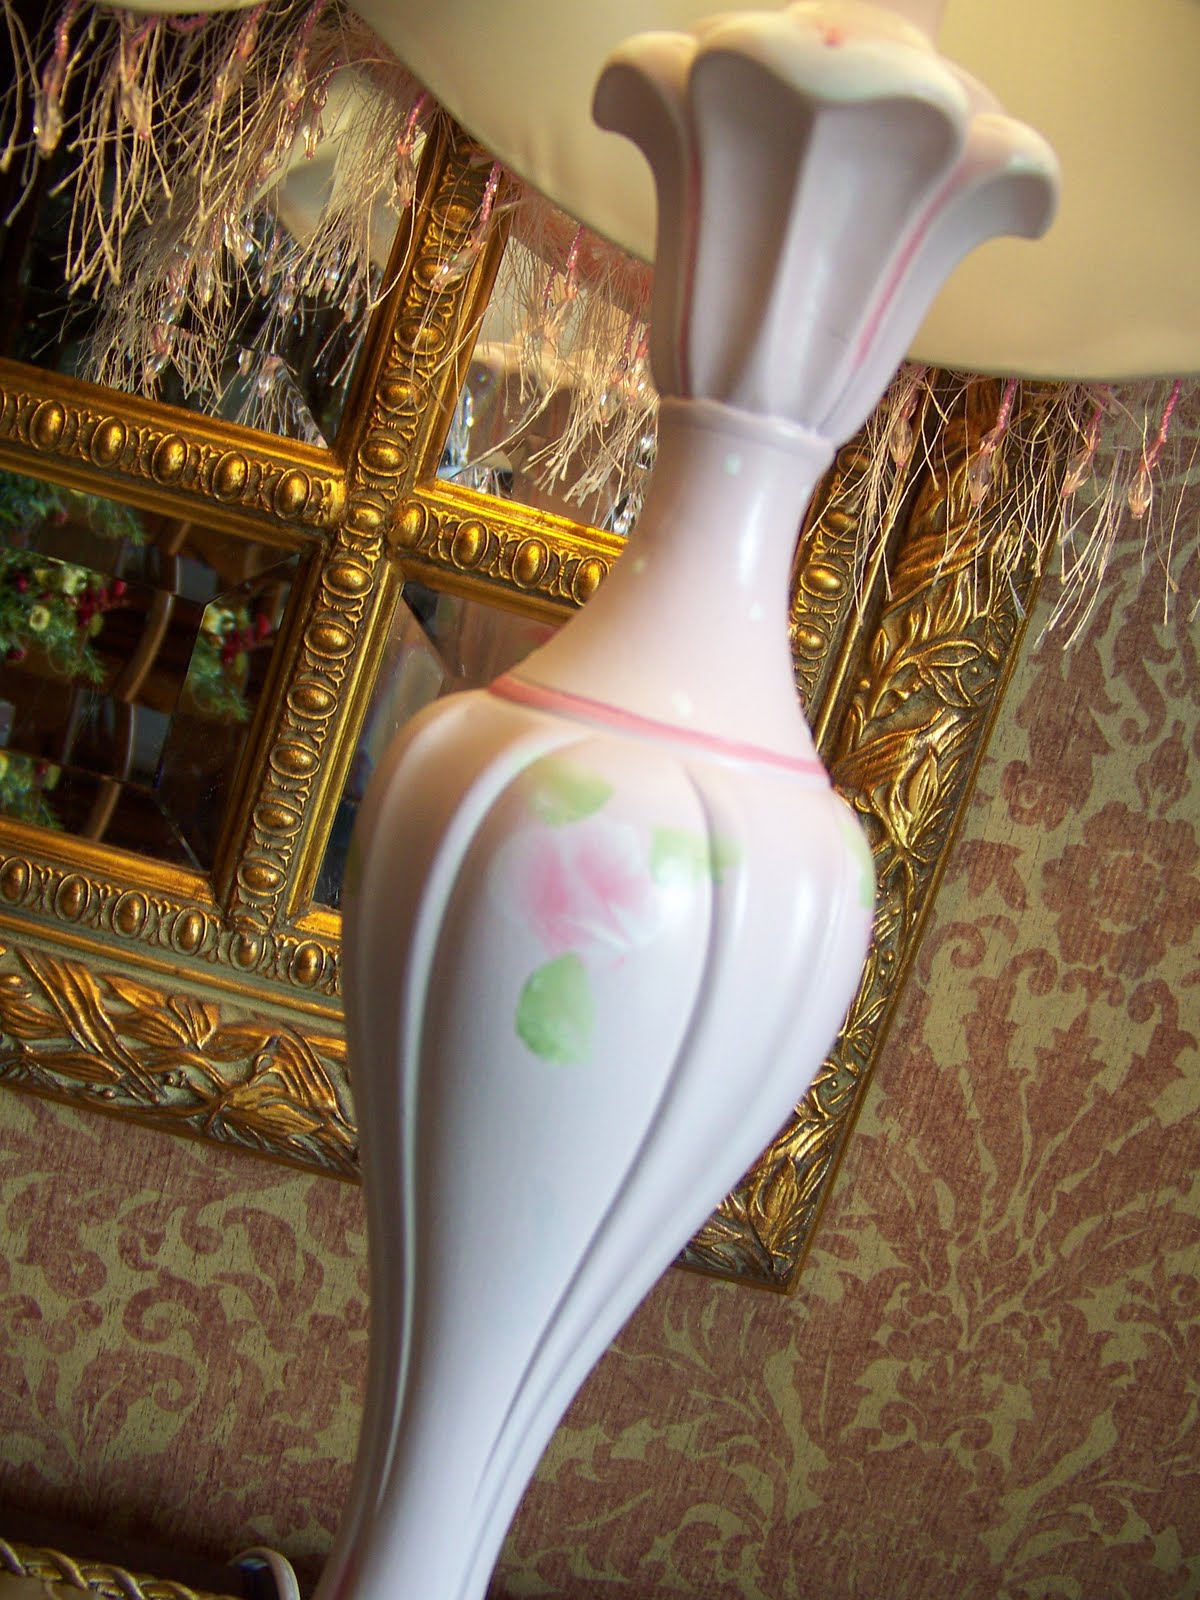
Here's a close up once it was complete.... 


Can you see the pretty flower with the white polka dots?


The finial matches the lampshade trim perfectly!


Here's the completed project.... 
 I think we make a great team.  I can't paint, but give me a glue gun and some frilly trim with a bit of bling and I'll work my magic!


I just love the eyelash trim with the tiny pink beads. 
Wouldn't this be perfect for any little girls room.


When shoping at a thrift store or if you are out and about this spring on a garage sale hunt,  make sure you snatch up that old lamp that no one is looking at. You can easily change that old lamp into a new creation!  Stop by and see more creative ideas at the following sites.  That's where I'll be linking up...

Sunday, April 18, 2010

It's a Lampshade Re-Do......

Last week Cheri, from "It's So Very Cheri", asked me to do a guest post  for her Thursday Tute.  I wanted to share a project that was easy to do, but had a big transformation. So if you didn't see the tutorial over at It's So Very Cheri,  I’m going to share with you  my "TUTE".  Here's the step by step instuctions to turn an Ordinary lampshade into something extra-ordinary.


 Let me first share with you my ordinary lampshade.


I like the style of the lampshade.
 It has good “bones” but it’s just to plain for my taste.


Now it’s time to started transforming this lampshade. First step is to gather your materials. I always use a few different fabrics and trims. I decided to cover this lampshade in a solid gold silk with a coordinating print fabric. The fabric was a gold silk fabric that had a black stripe.It almost looks like a thin zebra print. Next, I selected a beaded trim, and two different braid trims.


Let’s get to work… The first step is to remove the bias trim from the lampshade. Here’s a trick. Use the steam from your iron to heat up the glue that holds the bias tape to the lampshade. This makes the bias tape very easy to pull off and you won’t rip the shade.


Once all the bias tape is removed, we need to make a pattern. Simply take a piece of paper and trace one of the sections with a marker. (Make sure the marker does not bleed onto the lampshade)


Pin your pattern onto your fabric and cut out the pattern.


This lampshade had six sections,
so I needed to cut 3 pieces of each of my two different fabrics.


Now is the time to iron the fabric. Make sure you get all the wrinkles out. Once it’s on your lampshade
 you want it to look perfect!


Let’s heat up your glue gun and start to glue the sections onto the lampshade. Run a bead of glue along the top edge of the first section, and then continue down one side. Place the glue directly on top of the bias tape. When you have finished gluing down one side, continue on the other side of the section. Finish by gluing the bottom of the fabric to the lampshade.


Now you can begin to use the other coordinating fabric. Glue the fabric to the section that is next to the section you just completed. Continue gluing each section alternating fabric patterns, until you have done the entire lampshade. This may look a bit messy but just wait, the trim makes all the difference.


Let's  start putting the trim on. You won’t believe how much this changes the look. Run a bead of glue where the two different fabrics meet each other.

Continue working all the way around the lampshade
. Can you see how the trim hides any little problems.


Next step is to use the other braided trim and glue it to the top edge of the lampshade. When you get all the way around turn under the raw edge and overlap the trim and glue.


Now to finish off the bottom of the shade. First step is to glue on the beaded trim. This can be done just like the top edge.


When using beaded trim, the ribbon edge needs to be covered to give it a professional look. I used the same braid trim as I did on the top of the lampshade. Just glue the braid directly on top of the ribbon on the beaded trim. Didn’t I tell you that the trim really added a lot!


Now for the fun part…..
 Place the lampshade onto the lamp and turn on the light.


It’s time to admire your creation.
 A one of a kind custom lampshade.


Hard to believe it’s the same lampshade, isn’t it?


Whenever possible I love to use the beaded trim. I like the “Sparkle” it adds when the lights are turned on! Take a look around your house and turn that ordinary lampshade into something extra-ordinary. It’s easy and you can do it. If you re-do one of your lampshades I'd love for you to send me a photo.
I'll be linking up to the following creative sites:

Thursday, April 15, 2010

A Little Trim A Lot of Bling!

It's  an exciting day today.  I'm the "Guest  Speaker Blogger"  over at It's So Very Cheri, "I followed the Tute".  I'd love for you to stop on over and read my tutorial.  It's all about the "How To's" on recovering a lampshade.  You can see the transformation, first hand. 

Now for a quick and easy way to add a bit  of BLING to an ordinary lampshade.    We recently sold one of our lamps at the
 Tea Party Castle so we needed to bring in a new lamp.  While my partner Sharon painted the lamp, my job was to give the plain lampshade a bit of glamour.  What better, than to add a variety of PINK trims to glam up the lampshade!


The first step was to remove the green bias trim.  Here's a trick.....
Use the steam from an iron to loosen up the glue that holds the bias tape onto the lampshade.  This will help to avoid ripping the shade while removing the bias tape.


It came off fairly easy.  I removed the bias tape 
from the top and bottom.


I love this delicate pink rose floral trim.  I ran a bead of glue along the white bias tape at each corner of the lampshade.

Can you tell how much I use my glue gun?
the lampshade is already beginning to look better.


This is a totally Girly look....


Let's start adding the trim to the top of the lampshade... 
Use the hot glue for this. 
 Just be careful not to burn your fingers.


Now we're on a roll.  Just need to dress up the bottom of the shade.


I really liked the texture of this eyelash trim. 
It has tiny beads hanging for the trim.


Now for the reveal......  Ready?


Now let's turn on the light.....


Here's a close-up view of the trim...


The PINK trim adds such a delicate look...


This is such an easy way that you can give any ordinary lampshade in your house a  "one of a kind look".  It's inexpensive to do, and you will have the perfect lampshade that matches your decor.  Don't forget to stop by It's So Very Cheri.  If you enjoyed this post, I know you'll like my tutorial over there. I'll teach you how to totally recover a lampshade and make it a style all your own.  
I'll be linking this post to the following link parties...

Saturday, August 1, 2009

Pink Saturday...How to Make Door Cans

Welcome to PINK SATURDAY! Last week I shared my summer flowers and I promised I would show you what you need to make the door cans. If you missed PINK Saturday last Week, take a look HERE and see how I used these door cans for my front enterance. NOthing says welcome more than lots & lots of PINK flowers and a wonderful PINK wreath.
What you need for the door cans:
  • Three different widths of craft ribbon (I choose ribbons with PINK!)
  • One ribbon to hang the cans. (I used the solid PINK).
  • Two 16 oz. cans emptied and labels removed.
  • 1 Block floral foam.
  • Four 1" Decorative Buttons
  • Assorted Silk Flowers (If you LOVE PINK use lots of PINK flowers!)
  • Hot glue gun.
Attach wide ribbon with the glue gun around the center of each of the cans. Make sure you turn the raw edge under before you glue it to the can. Add the other two ribbons to the top and bottom of the cans.
Mix the smaller ribbons. Do not make both the cans the same. Cut a piece of floral foam to fit the inside of the can. Secure with hot glue. Cut assorted silk flowers. I like lots of PINK! Arrange by sticking them directly into floral foam. Select ribbon to hang the cans. Cut one length 26" & one length 19". Place one end or the ribbon on the outside of the can securing it with hot glue to the top edge on the side of the can. Repeat with the other end of ribbon, placing it on the opposite side of the can. Add buttons.
Now hang your creation on the door knob and enjoy!
Thanks for stopping by. I'm hope you take the time to try this project. It's easy and will be a wonderful addition to your front door. Visit my previous AUTUMN POST to view a set of door cans you can make for the Fall. Lots of bloggers love the color PINK. Grab a cup of coffee and visit "How Sweet the Sound", to get your fix of the color PINK !

Related Posts with Thumbnails