Tuesday, July 26, 2011

On the Road Again... A Wonderful 51st. Birthday....

I've been on the road for the last three weeks. 
It's baseball season.
When you have an 18 year old son who plays travel baseball,
 there isn't time for much else.
This past weekend we headed for Cincinnati and Kentucky.


While we were away it was my 51st birthday.
It was the perfect day.
I got to see my son play at the University of Cincinnati.

If you're a mother of a son who plays baseball,
it's a mother's dream to see her son play on a field like that!


We had the perfect seats, right behind the backstop.
It was hot 100 degrees, but I didn't mind.
We just sat there with a cool drink and relaxed!


Batter Up!
Can't believe this is the same little boy I watched play
Little League Baseball.


Time Flies!


Got to spend the day with two of my favorite guys!


My Hubby....


And my youngest son!


A  PERFECT way to spend a
 PERFECT DAY!

A Topiary With a Little Birdie and Nest....

Summer is busy.
When time is limited,
I'm always looking for a quick decorating project.

My kitchen window needed something.

So here's the finished project.


It all started with this clearance vase from Michaels.
I had picked it up last season,
knowing it would be perfect for something, someday!


Now that I decided what I was going to create,
I headed over to the craft store
to pick up some items.

All I needed was some styrofoam,
spanish moss, a bush of ivy
and a little birdie in a nest.


Off to the back yard to find a stick
 for the stem of the topiary.
Luckily we had a rain storm,
so there were lots of branches laying in the backyard.

I put crammed a piece of styrofoam into the vase.
Next step,
 push the branch into the styrofoam. 
 I added some glue to the branch
 before putting it into the styrofoam.
Next, cut various lengths of ivy using wire cutters.

Once this is complete,
 glue (with a hot glue gun) the pieces of Ivy to the top of the branch.  Arrange the ivy so that it is in the shape of a ball.

While out searching for the larger branch,
I had picked up a bunch of small twigs.
I arranged them around the stem
 and secured them with a piece of jute twine.


 I added some ivy to the base.
Now time to nestle the little bird and nest into the ivy.


I embellished the nest with some small twigs.


All done!


It's perfect  sitting by the window.
It was quick easy and inexpensive to do.

Got a little bit of time?
Try this. 
 I think you'll love it also!

I'm linking up to the following....

Sunday, July 17, 2011

What To Do With Graduation Photos...

What have I been up to?
Here's a guess....


At our house, June, July and August are busy months
 with lots of baseball games.
  I'm headed back home from a nine day baseball tournament in Georgia.

Next stop is Cincinnati!

It's a crazy summer,
but we love every minute watching our youngest play.
I don't know what we will do with all our free time
when he graduates next year.

We have also had some graduation parties to attend  this summer.
I never buy greeting cards from a store, I am just to cheap frugile.

Have you ever wondered what to do with those graduation photos you recieve with the invitation to the party?


  I always feel guilty throwing them in a drawer.
I never know where to put them.

Well here is an idea.
Make a one of a kind card to give the graduate. 
Just slip a gift of money into the card.
They will love it!

Here's what I came up with...


Now I don't have to feel guilty about the picture.


Another tip....
I always add a special touch to any envelope I use.
Embellish the bottom with a piece of scrapbook paper.
Just tear the paper and glue on.


It's the little extra things that can add just the right touch.
Do you have an upcoming gradution or birthday party?

Next time try this idea.
It's bound to put a smile on the face of the person
 who opens the card.

I'll be linking up to the following....

Tuesday, June 28, 2011

I'm Really Feeling Lucky!

It was a beautiful Michigan day
 and it got even better when the postman stopped his truck
 right in front of my house. 


He dropped the priority package at the front door.


The label on the side of the box says it all,
"A VERY SPECIAL DELIVERY".

You know it's gotta be something good!


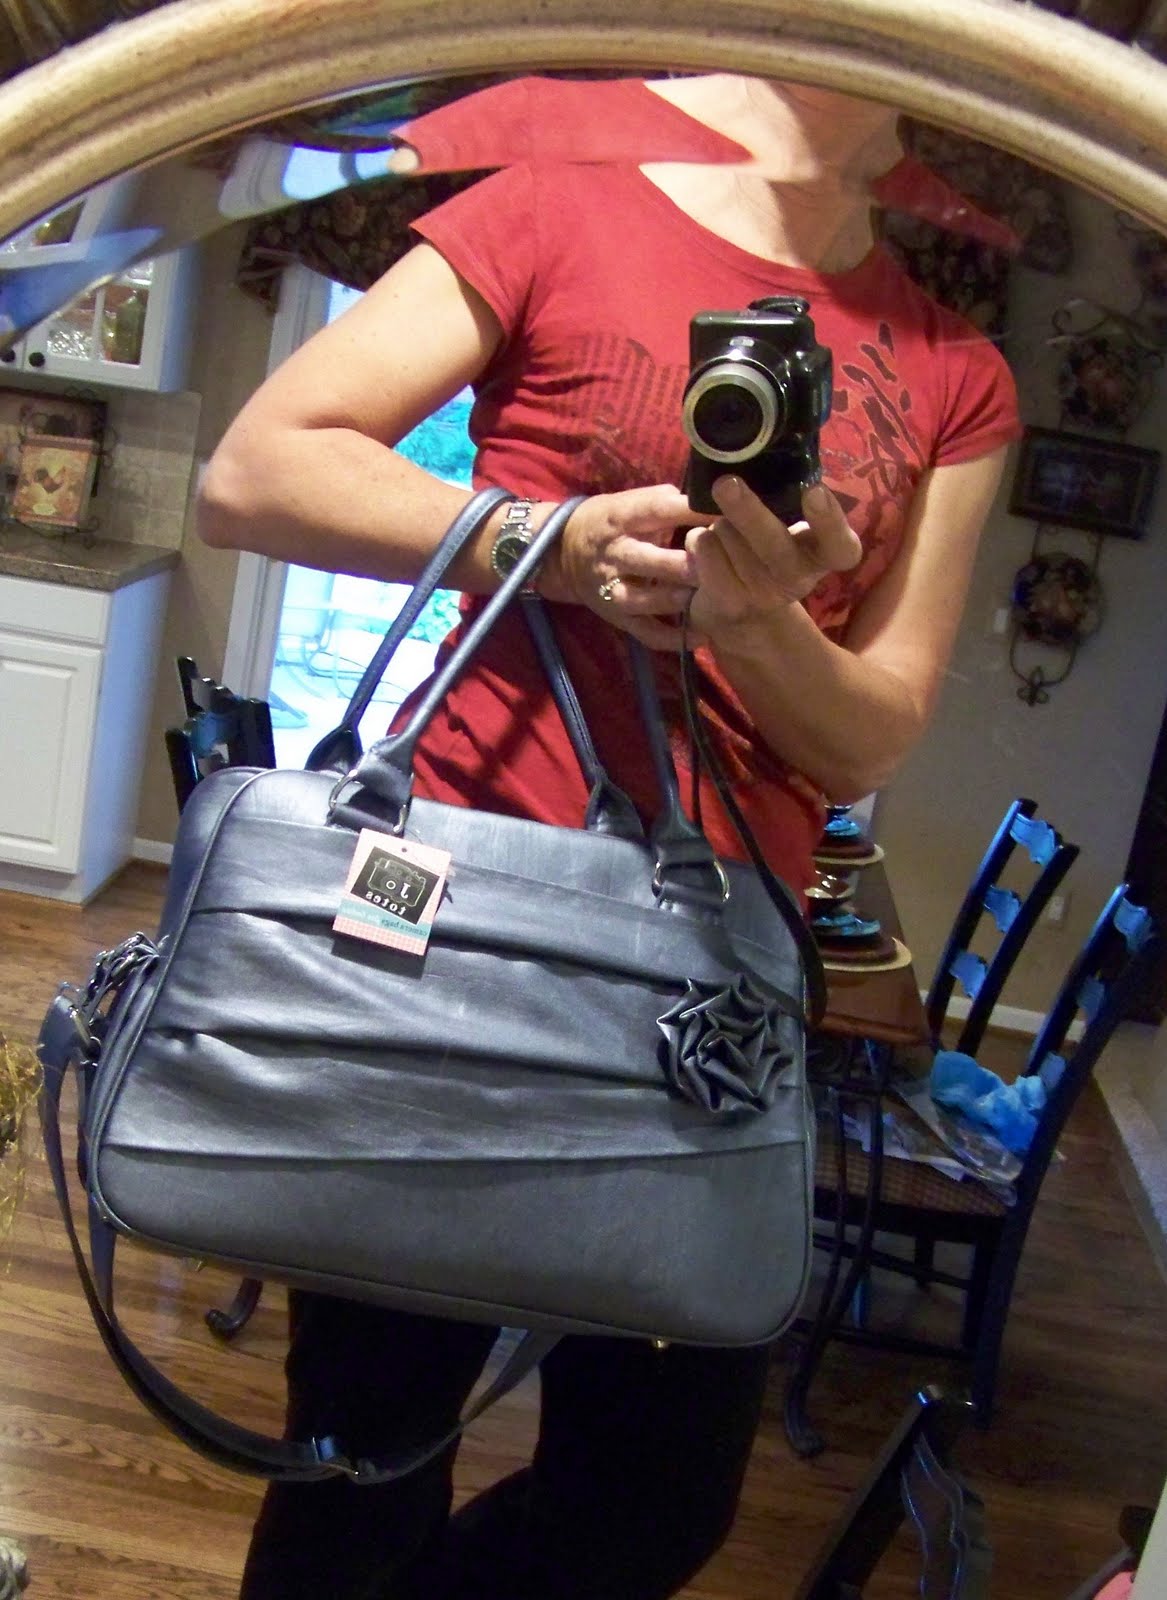
I was the VERY lucky winner of a Jo Totes Camera Bag.
I had entered the giveaway HERE at

If you haven't been to the "How Does She?" website stop by
they have so many wonderful creations.

Have you ever entered a giveaway and totally forget about it?
That's what happened to me...

The bag came wrapped in this cute blue bag.
You gotta figure anything that is wrapped so cute,
has to be wonderful.

And it was!
 

If you are looking for a stylish camera bag check out Jo Totes.

I had had my eye on one of these for myself.


I was able to select any camera bag I wanted.
I am a girly girl so the one with the rosette was perfect for me.

The bag is named "ROSE" and the color is Moonbeam.


The material for the cover is a beautiful metallic  blue color
 with a lambskin print.


Check out the rosette!


For Christmas I got a new Canon Rebel camera.
Can you believe it's still in the box!

I must admit that I am a bit intimidated by using the camera.

This new camera bag finally got me to open the box
and decide to try and use my Christmas gift!


The camera bag has padded inserts.
You can arrange your camera and all it's accessories
 inside the bag.
Everything fits perfectly.
There is plently of room inside the bag.
  You can even carry some of your personal items.

Now I am all set to start using my camera.


Carry it like a camera bag, using the sholder strap.
(took the photo with my old camera)


Or...
Carry the bag like a purse.

Isn't it so darn cute?
It's more than just a camera bag!
It has such style.
I am so excited to take my new camera bag out .

Thanks Jo Totes
and


I'll be linking up to the following sites....

Tuesday, June 21, 2011

What I REALLY Do ....

Over the past few years I have shared with you many things I have created, but I haven't showed you what I "Really Do".

What I mean, is what I do for my
"REAL JOB".

Today I thought I would share with you
 some of my custom drapery creations. 
"Creations by Sherry Lynn"
 has been my custom drapery business for about 16 years. 

 I love designing and creating things for my clients. 
 Here's what I have been up to the last few weeks....


This was a very large window. 
I added some decorative elements.
I chose to use a large tassel
to hang from the finials on the ends of the rod.


The client had a beautiful chandelier
 hanging from the center of the ceiling.


Because the window was very wide,
I shirred the cornice fabric to give it some additional texture.
I also selected a beautiful trim with crystal beads.


This window was in a master bathroom.


I choose to use a beautiful embroidered faux silk fabric.
The walls were painted a pale blue.  The clients had inherited an oriental rug which had a variety of shades of blue.


The tassel trim added the perfect touch!


In addition to the bathroom
 the clients had two identical windows in the office.
These simple empire style window treatments
were exactly what she wanted.

I love adding to trim to the drapery treatments.
I think it takes the drapes from ordinary to extra-ordinary!


These last two rooms were just installed this morning.
This window treatment was for a client who is a recent widow. 
She wanted something bright and cheery
for her living room window.


I added a striped fabric cut on the bias.  
This was the perfect coordinate for the floral fabric.


Now this last job took some work. 
The window was so large I could not fit the entire window
 into the picture. 
The bay window had FIVE sides to it!


Each cornice was made separate. 
The jabots covered where the cornices were joined together.


Here's the other end of the window. 
It was a total of 27' of cornices. 
I was nervous the entire time the installation was taking place.
One wrong measure on my part, and all the angles would be off.
The cornice had to go up in one piece. 
Because the window treatment was going right up to the ceiling, 
 all the jabots and drapery panels
were attached before we put it up.

Early this morning I had to recuit my two boys to help with the install.  This is the first time I have needed them to help.
 (I had to buy them lunch after!)

To get the cornice installed, it took my installer, myself and my two sons to hoist the cornice 9' up to the ceiling.


Once the bay was installed I let out a BIG sigh of relief.
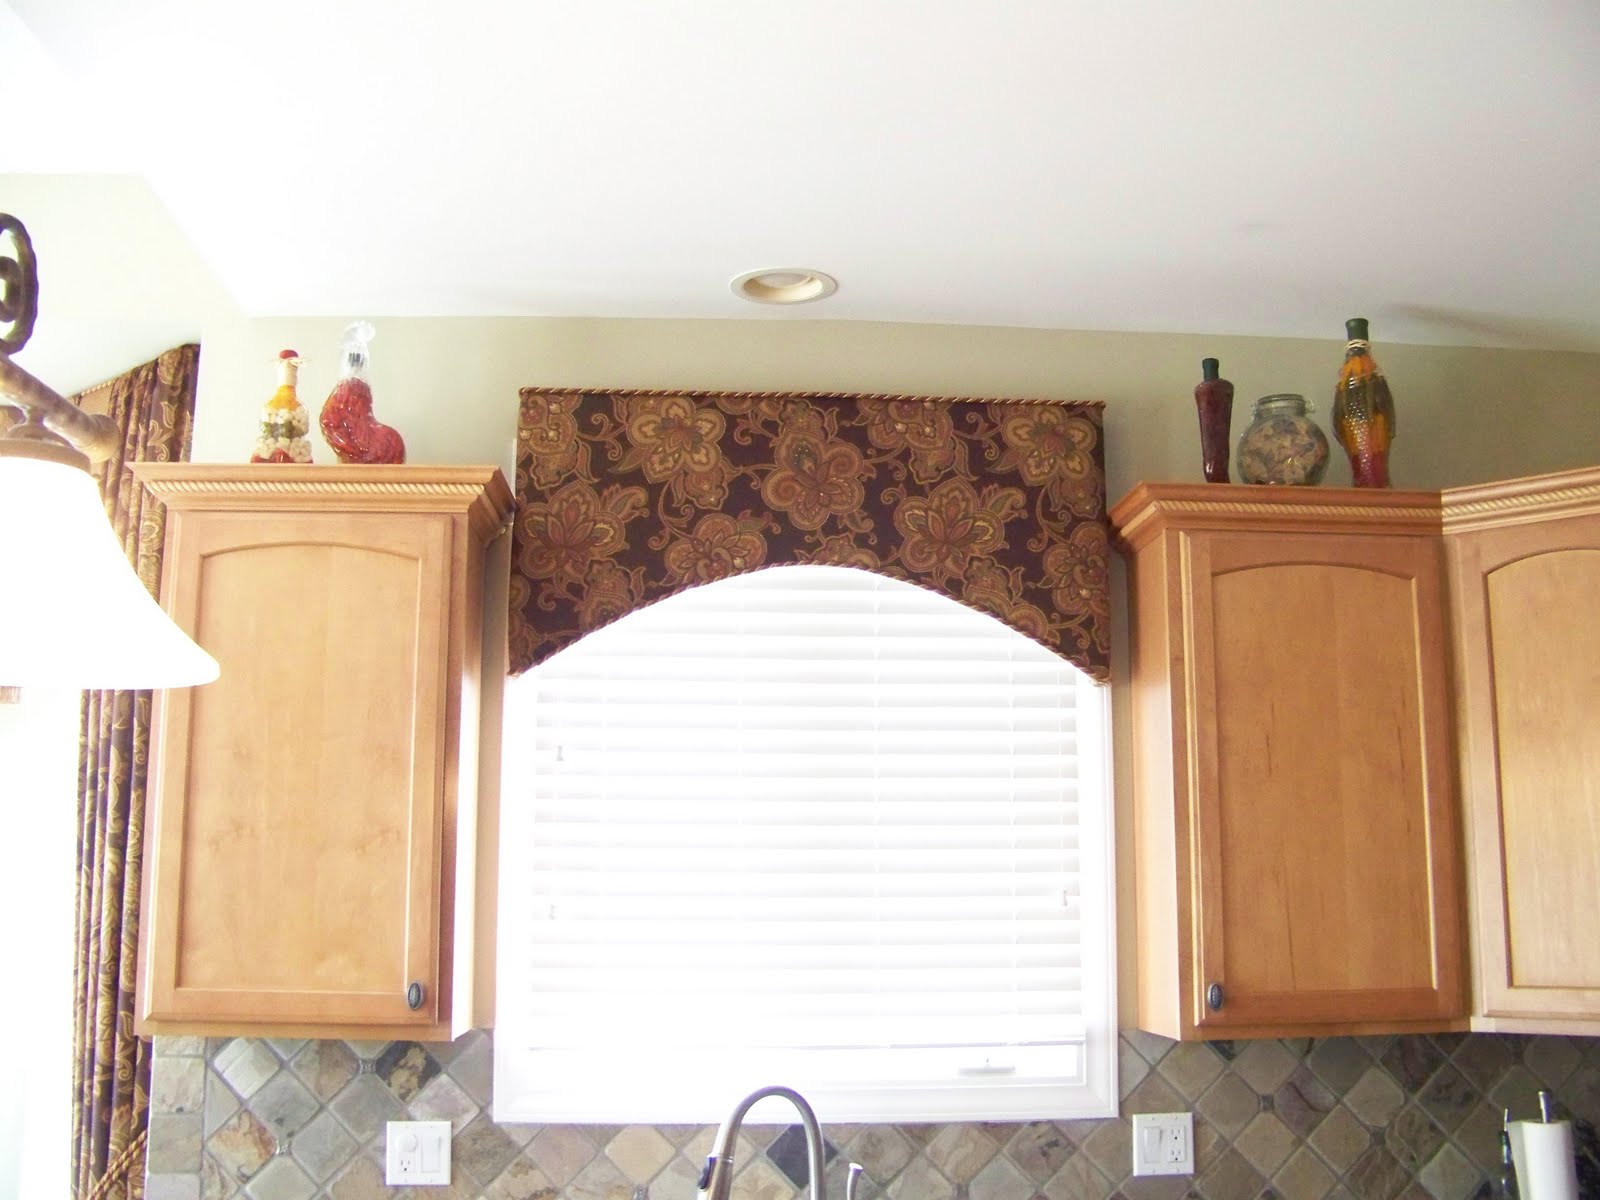
The 4' arched cornice over the sink was a breeze to intstall!


I don't know why I haven't shared with you my drapery creations. 
If you want to see more head on over to Sharon's blog. 
I recently did a few rooms for her
and she was so sweet to post about them!

I'll be sharing this with the following sites.

Related Posts with Thumbnails