Showing posts with label graduation board. Show all posts

Friday, June 17, 2011

More Graduation Boards

I've had several orders for graduation boards the past few weeks. 
This mom had LOTS of photos (almost 60) she wanted displayed.
That was a challenge, but I was up for it!

Here's was I came up with....


I have a few tips for you to make your boards extra special.

Tip #1....
I cut mats for the extra special photos. 
I want them to POP off the board
when people first look at it.
Embellished them with a ribbon and button.
It adds a special touch to the frame.


This gentleman is attending Michigan State University next year.
 His mom gave me his acceptance letter
to incorporate onto the board.

I also matted the cute baby photo...


A ribbon, button and special saying was added to the photo.


Here's tip #2...
I find most of my saying on "quotegarden.com".

Once you find a saying you like
 make a folder of different categories on your computer. 
I copy the saying and type it out using different fonts. 
Once I have it exactly how I want it, I save it to a file.
Next time I need that quote,
I just open up the file and it's ready to use.

I have folder for all different categories.
Mother, Father, Grandchildren, School, Friends, Pets, Love
 and many more....


Here's Tip #3...

This student had many awards.
Most awards are 8"x11"
 which takes up way to much room on the memory board. 
 Copy the award in color, reducing the size about 60%. 
 This works great!

Take a look at the National Honors Society Award.


It's also great for a student to get their name in the paper.
Use the same tip as the award and shrink it down.


Here's tip #4...

I double mat all my photos.
After I mat them, I distress them with metallic craft paint. 
 I use either silver or gold.
Just use a sponge and wipe it on.
This adds something special. 
 It's a bit of work to double mat the photos and add the paint
but it's well worth it!


Last tip but most IMPORTANT...

I attach all the photos to a large foam core board. 
It's extra sturdy. 
 I purchase them at Hobby Lobby. 
They carry extra large boards which can be easily cut down
with an X-ACTO blade to any size you  need.
After all my photos are matted,
 I then add small blocks of foam core
to the backs of some of the photos. 

 This helps to give the board a 3D effect.
Here's a side view...


Can you see the piece of foam core
behind the National Honor Society Award?


The young man's mom picked up the board this week. 
I had it displayed in my kitchen.
When she saw it she cried. 
 It was a good thing... 
 I knew she loved it!!!

If you are interested in making a one of a kind
graduation memory board and centerpiece
 I have a "HOW TO" video on my ETSY shop.
  Take a look HERE.
I'll be linking up to the following...

Wednesday, August 11, 2010

More Memories to Display...

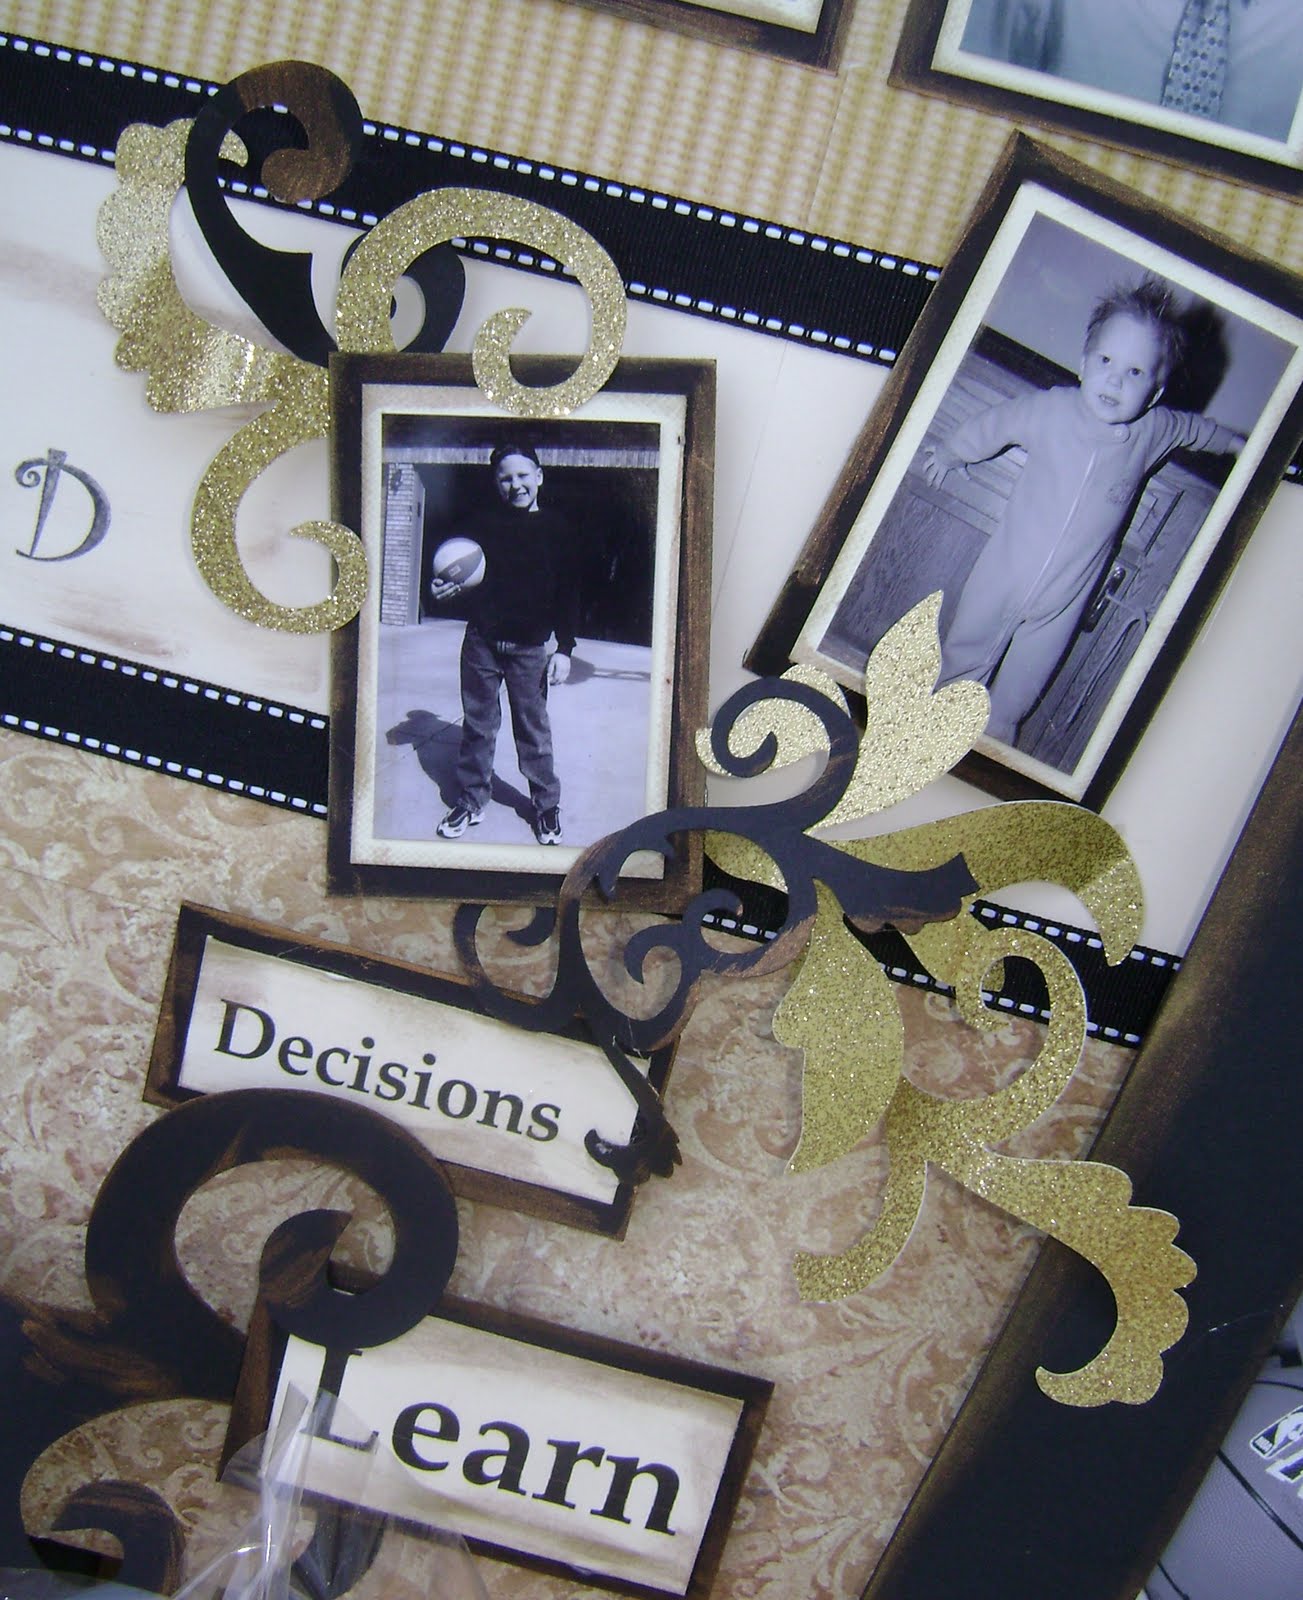
In the previous post I shared with you my version of a girly graduation board.  Now as promised here is a graduation board that is perfect for a the male graduate.  This board was for my friend Linda's son.  The school colors are Gold & Black. 
 Here's what I came up with....


I used an 8x10 mat to display his graduation photo. 
 I distressed it with some gold paint.


This photo was placed inside a 5x7 mat. 
 This mom wanted to incorporate some grade school photos.


Along the bottom we also added photos from grade school.
My friend Linda had the board displayed in the middle of a table filled with popcorn balls!


These photos were all his school photos
 from kindergarten through 11th grade.


Once again I used my cricut machine to cut out
 all the decorative pieces.


The saying was printed on vellum. 
 I ripped the edges and added gold paint.


Now for my friend Denise's son, Alex's board.  This has a different take on it.  She already had a frame which displayed all his school photo from kindergarten through 11th grade. Denise wanted to display photos which highlighted events from his senior year.


Adding the gold paint and the school name
really embellished the frame.  I also glued on a black ribbon with white stiching to add some texture.


I hot glued some gold buttons (it went with the black & gold theme) to add some interest.


I had never done this style of board before. 
I really like having just senior photos displayed.  To make the photos pop,  I mounted some of the photos on foam core blocks. 

Here's a tip...never through out scrap foam core.  I cut it up into 2"x2" square pieces and use for my graduation boards and many other crafting projects.


To make some photos POP, so I printed them off in color.  The photos along the bottom of the board were just of Alex.  I thought this would add some interest and draw you attention to the graduate! 

 Don't you think this makes them stand out?


Here is the family at graduation.
  I know how proud Denise was off all her son's accomplishments! 
As she should be.


One more board to share with you today.  This is for a girl. 
 Just needed my fix of a little bling.


Check out the rhinestones and the polka dot ribbon. 
Seems like all the graduation boards I did this year were either black & gold OR blue & silver.


I added some large rhinestones to the cricut design....


Hope this gave you more ideas for graduation boards.  I know whoever you it for will love it.  If you missed my video on how to create this board check it out HERE. I have one last graduation board design to share with you in my next post. I would love for you to visit me.

Related Posts with Thumbnails