Showing posts with label chandelier. Show all posts

Wednesday, February 8, 2012

Two Story Foyer

TALL spaces are sometimes hard to decorate.
Our two story foyer was a challenge.
A lot of wall space.

What to do with it?


First I added a wide chair rail molding.
I place it on the wall about 2/3 of the way up the wall.


Below the chair rail I added wall paper.
It has alot of texture.


A piece of iron work was added near the front door.


This area had me stumped!
Such a large space.
It needed something.
I ordered the tapestry on line.
  It was the PERFECT addition.


I hired my drapery installer to hang the tapestry.


Don't you just Love Tassels?


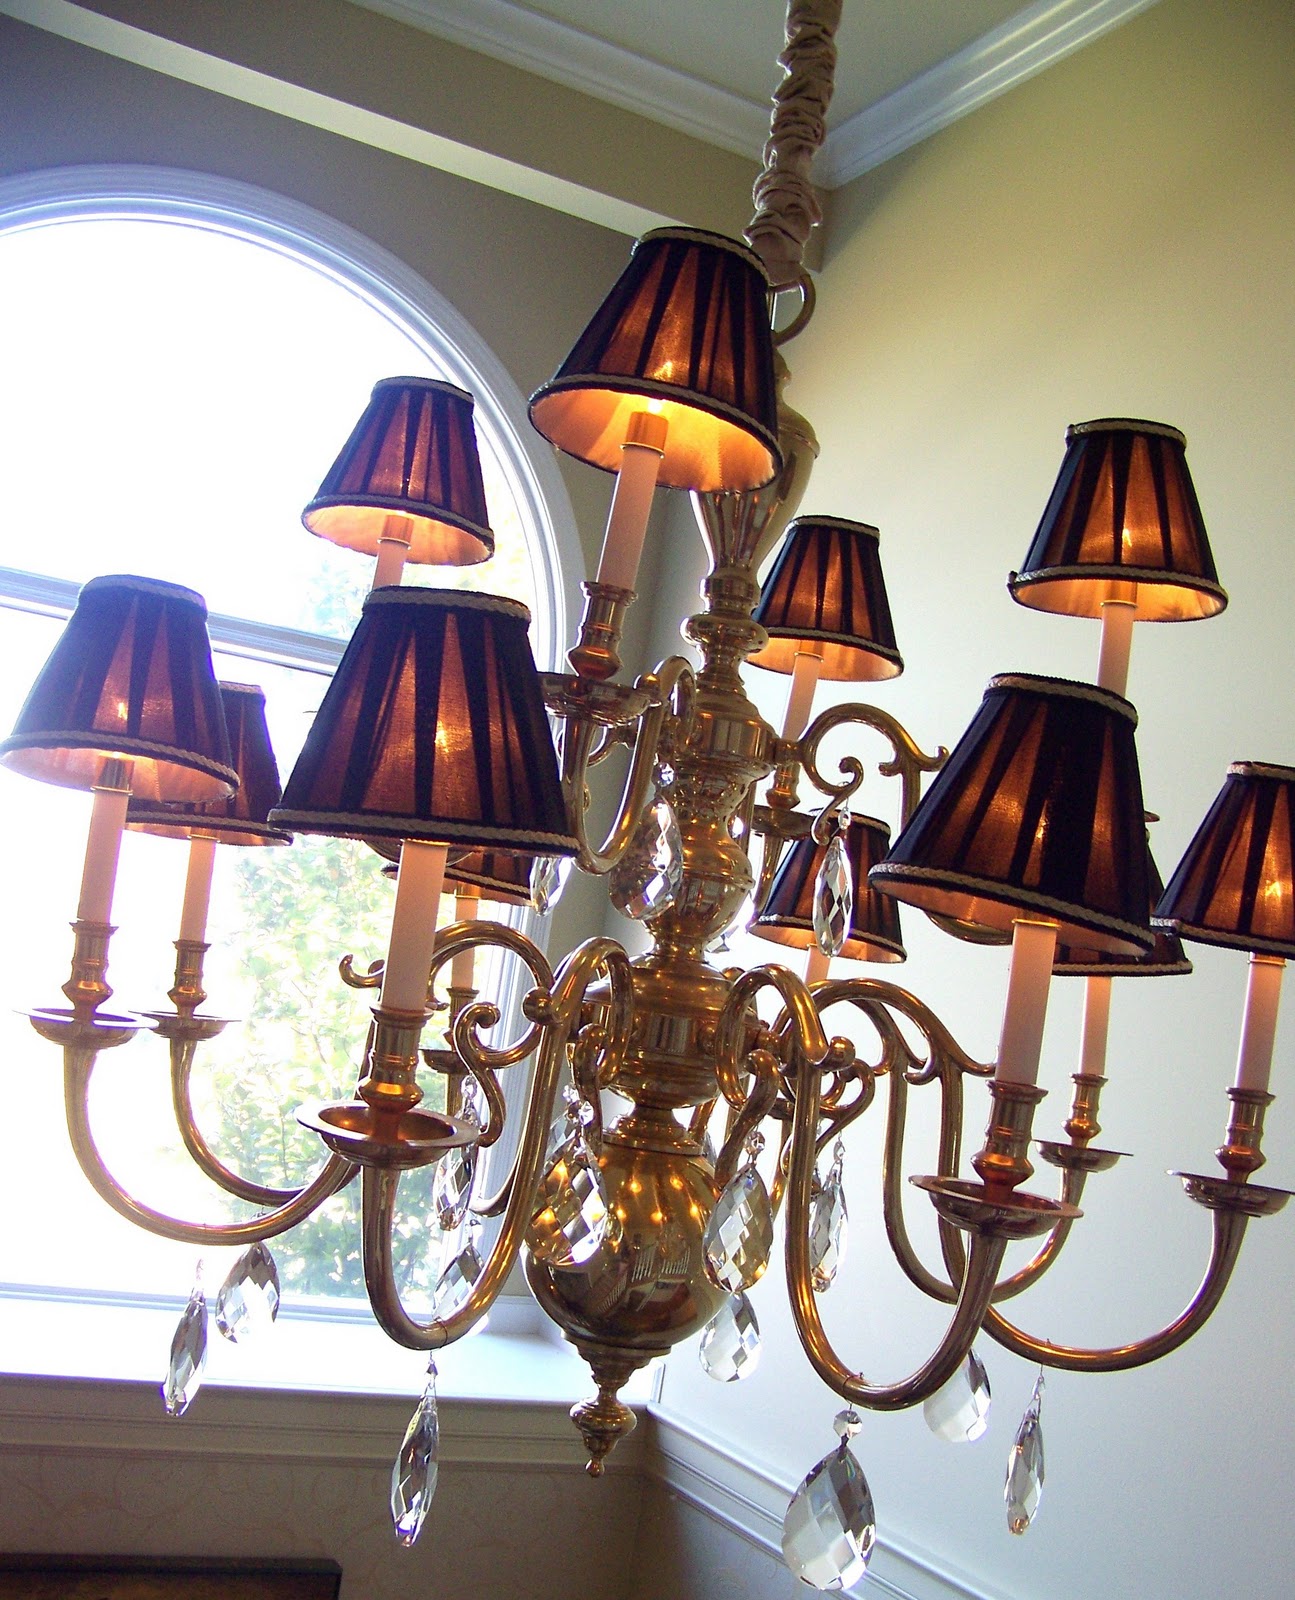
This chandelier needed some shades.


Also how about some bling????

Large crystals were added.


A ceiling medallion and a cord cover were also added.


Now time to add some furniture and accessories.


I have had this painting in a few spots in my house. 
It's one of my favorites.
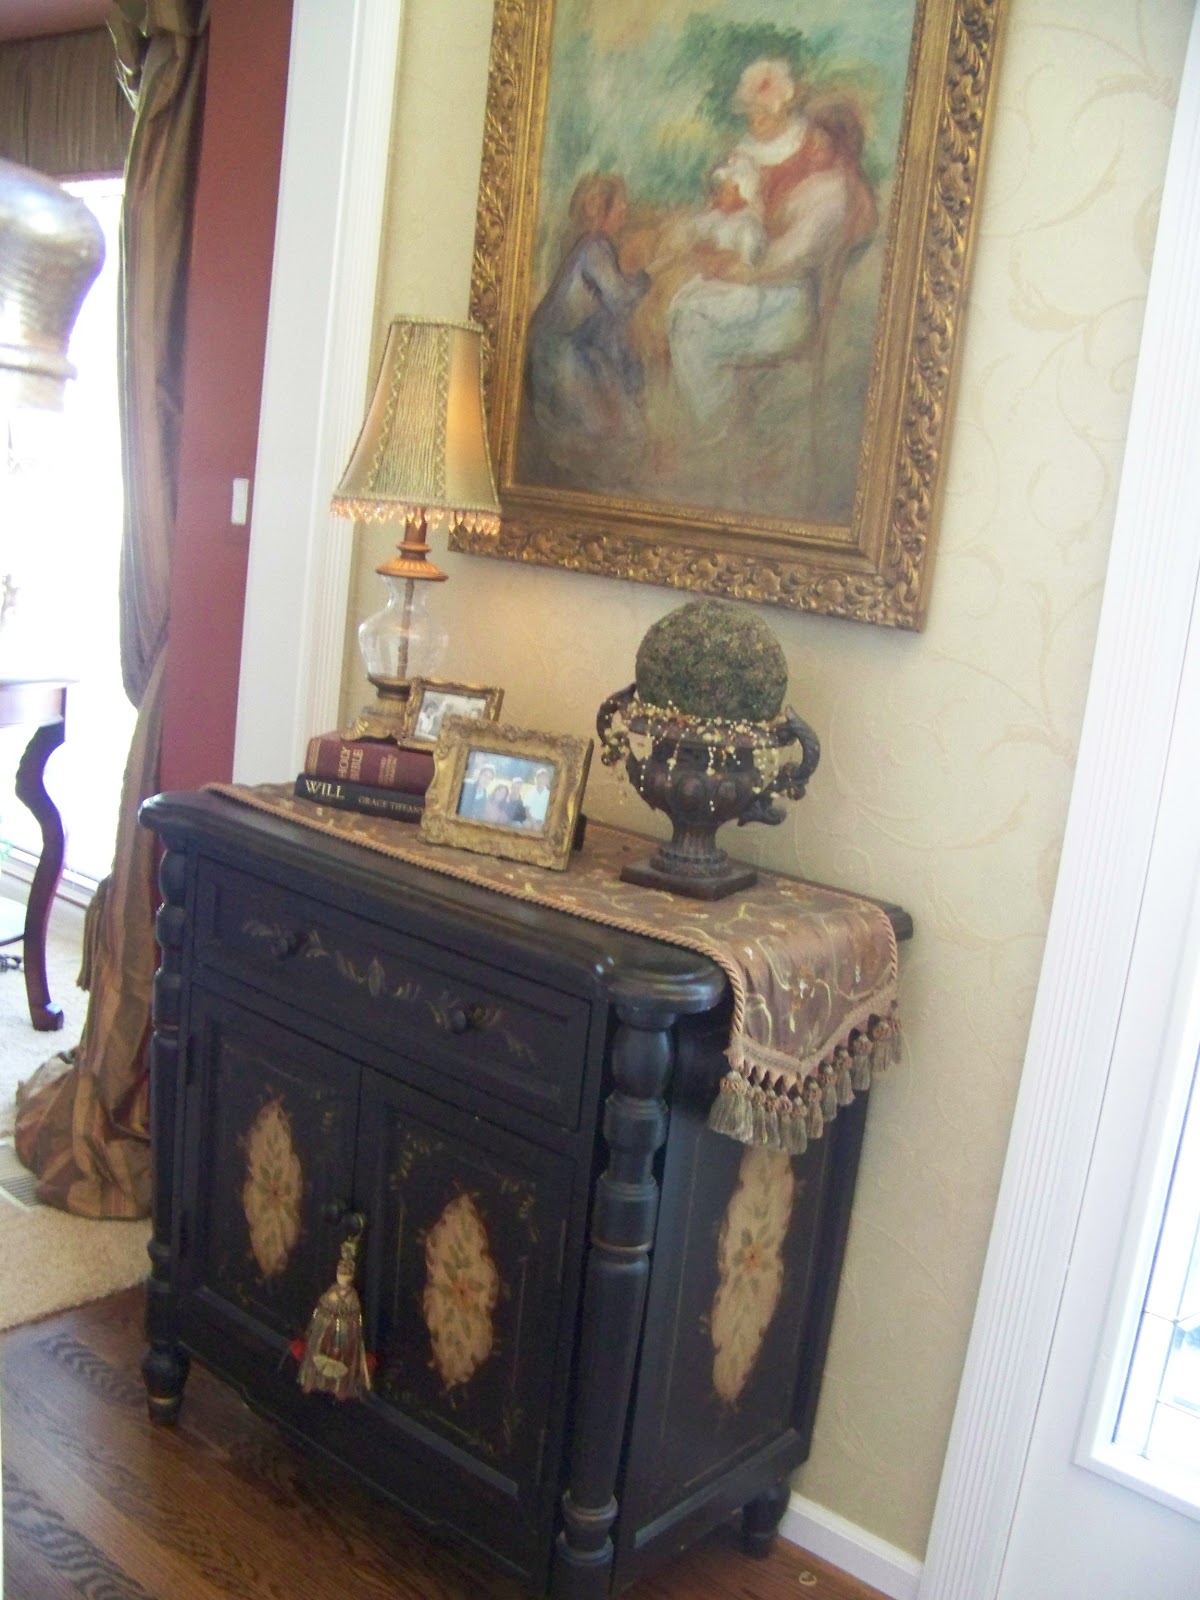

A dear friend  gave me this.
It hangs over my front door.


A grandfather clock chimes on the hour....


Did I mention I LOVE tassels?


If you have a tall space with a lot  of wall space,
try adding some of these elements....

I'll be linking up to the following....


Saturday, January 1, 2011

Chandelier Crystals add some BLING....

Happy New Year!

Let's get the New Year started
with my latest project that adds a bit of
BLING...


A few years back I was at a drapery client's house.  As I walked through her garage I saw a very large brass chandelier laying in the middle of the floor.  I asked if she was installing a new lighting fixture and she remarked that her mother had given her the light fixture, but it was to large for her foyer area. 
She then quickly asked if I would be interested in it. 
 FREE of CHARGE. 

 All I had to do was move it. 
 I couldn't get the word YES out of my mouth quick enough!

  I didn't realize how heavy it was and how much work it would be to take down the fixture we already had hanging from the ceiling in our two story foyer. 

Here's what it looks like once the installation was complete.


The chandelier did not have the black shades.
  I found all 12 of them at one Marshalls.

Can you believe that luck?

I was doing the Happy Dance that day!

I also made a  fabric sleeve for the chain out
of some left over silk drapery fabric I had.


I loved the way the light looked
 EXCEPT...
I had always wanted crystals on a light fixture.

What's a Girl to Do?

I headed right over to the Internet and Googled
"Crystals for Chandeliers"

and HERE is what I came up with...


 3.75" Crystals with Magnets attached. 

Only TWO Problems...

1.  Each  crystal is $12.50 and I need 20 of them.
That would be $240.00!

2.  The chandelier is brass and oops...
 brass does not work with magnets.

Back to the internet.....

BINGO!


I found this wonderful site called "Cristaler". 
You can see all the wonderful things they have HERE.
These are the exact cystals I ordered.
Did you notice the price?
$1.39 Each

That's right, it only cost me $27.80 plus shipping.


They quality is amazing. 
 I was a bit worried that they would be plastic for that price.

NOPE,  all glass and the cut is wondeful.


They have a wonderful prism color.
How did I attach them?

I used a very fine gauge of brass colored wired
and wired them to the chandelier. 
 Since the light fixture is two stories up, you can't even tell. 

I also added more crystals to my bedroom ceiling fan,
which you can see HERE
 I matched the color wire to that fixture and you can't even tell that I wired them on.


I couldn't be happier!
The light reflects off the crystals a  they just sparkle.


These inexpensive crystals 
added lots of BLING


I'll be linking up to the following sites....

Tuesday, October 12, 2010

The Chandi Ceiling Fan is up!

BYE...BYE... Old ceiling fan

Remember this photo from my previous post?


With the ceiling fan removed
and the wall and pan ceiling painted....


It's time to put the moldings up.

After finishing this project, I can understand why it would have been so expensive for a carpenter to do the project.  My handy man husband can do about any household project, but he was not crazy about mitering wood trim on the ceiling. 

Well...after a few "Pretty Please" he agreed to it!


He is a perfectionist.
The most difficult thing was to make sure all the molding were square.  It took about a week for all of us to be home at the same time.  My husband, two sons and myself  each had to hold up one side of the molding at the same time. 

That was not a Kodak moment!
  Every one's arms were getting tiered
 and the complaining was in full swing.

Are you wondering what the blue tape is all about?

 My husband had to mark where all the studs were
 so he could nail in the molding.


I added a ceiling medalion that I painted the same color as the moldings.  The color was one shade lighter than the ceiling. 
 After painting it I added a stain to it. 
 I'll share that with you in an up coming post.


 Are you ready to see the new chandelier ceiling fan?


Gotta have some bling with a chandelier.
Lets add the crystals....


 Here it is....


I love the way the light looks through the shades...


There's lots of crystals....


For now I'm going to enjoy my new ceiling fan
while I lay right here on the bed!


Later this week I'll share with you
the continued master bedroom makeover.

I'll be linking up to the following....


Tuesday, September 28, 2010

Finally Let the Makeover Begin....

Do you have unfinished projects?

My bedroom makeover is one of them. 

One year ago I purchased paint samples and that's as far as I got.  My 50th birthday just recently past and my mother in law gave me a gift of money.  She insisted I use it on something I wanted. 

 Ooooh, I knew exactly what I wanted. 
Yhippie...  The UPS driver has arrived with my gift,
so let the decorating begin.......


My "dream" room would have a chandelier, not a ceiling fan. Susan, at Between Naps on the Porch has the perfect chandelier in her master bedroom.

  Let's take a peek...


Isn't it  beautiful?  You can read about all about it HERE.

 My husband has very few requests
when I decorate. He lets me do as I wish.
But a ceiling fan in the master bedroom is a must for him.

So when I saw this beauty HERE in the Horchow catalog
I was sooooo excited.
But there was a problem...the price.
Oh, how I hate when that happens.

 What's a girl to do when you're on a budget?
Ebay....That's the answer.
  I found it for less than half the price!
Now my non-demanding husband can have the ceiling fan
and I still got a light fixture that had crystals!

Isn't it a beauty?


I couldn't wait to get it put together.....


Let me share with you my inspiration room
 which I first saw on Rate My Space.

I even have the same four poster bed as in my inspiration room.
I just love the colors of the room.  They are so soft and soothing. These colors are nothing like the rest of my home,  
which have warm tones throughout.


Now I had to select a color.  That's the hard part as you can see in the photo below.  I painted several different colors.  Some had to much green or blue.  I finally choose the one with the blue X.
Sherwin Williams, Herbal Escape....


Do you have a hiding spot in your bedroom?

You know, where you stash that one of a kind bargain.
I'll share my hiding place with you...

You may have the same spot. 
 That's right, under the bed.

 Over the past year, when I have seen something on clearance I snatched it up and hid it under the bed.
 I have actually forgotten what I have hiding under there.


Here's the fabrics for the draperies and dust ruffle.
It's been propped up in the corner of the bedroom
about as long as I have had the paint samples on the wall.
I found the toile fabric at Calico Fabrics. 
 It's the same fabric as my inspiration room


Isn't it just lovely.


Here's the fabric for the dust ruffle.


Bye... Bye... old ceiling fan.


We painted the ceiling Sherwin Williams cream fleece.


The walls were painted  with the Sherwin Williams Herbal Escape. 
It isn't as dark as I thought it would be. 
I like the color, but it's going to take some getting used to.


The trim has been painted and now the ceiling molding and my beautiful ceiling fan/chandelier will be going up. 

Stop back I'll be posting as soon as my hubby hangs it up this week!
Now I need to start sewing the window treatments and bed skirt.
I can't wait to share it with you.
I'll be linking up to....

Related Posts with Thumbnails