Thursday, March 31, 2011

A Lampshade Re-Do for a Friend....

Last week I had the opportunity to visit
with my good friend Sharon. 
Sharon has a wonderful blog,
 During our visit I helped her out with a new cover for her
NAKED LAMPSHADE...


The lampshade was for a wonderful antique lamp
that Sharon's husband had purchased for his office.
When sharon asked him how he wanted the shade covered,
this was what he designed!


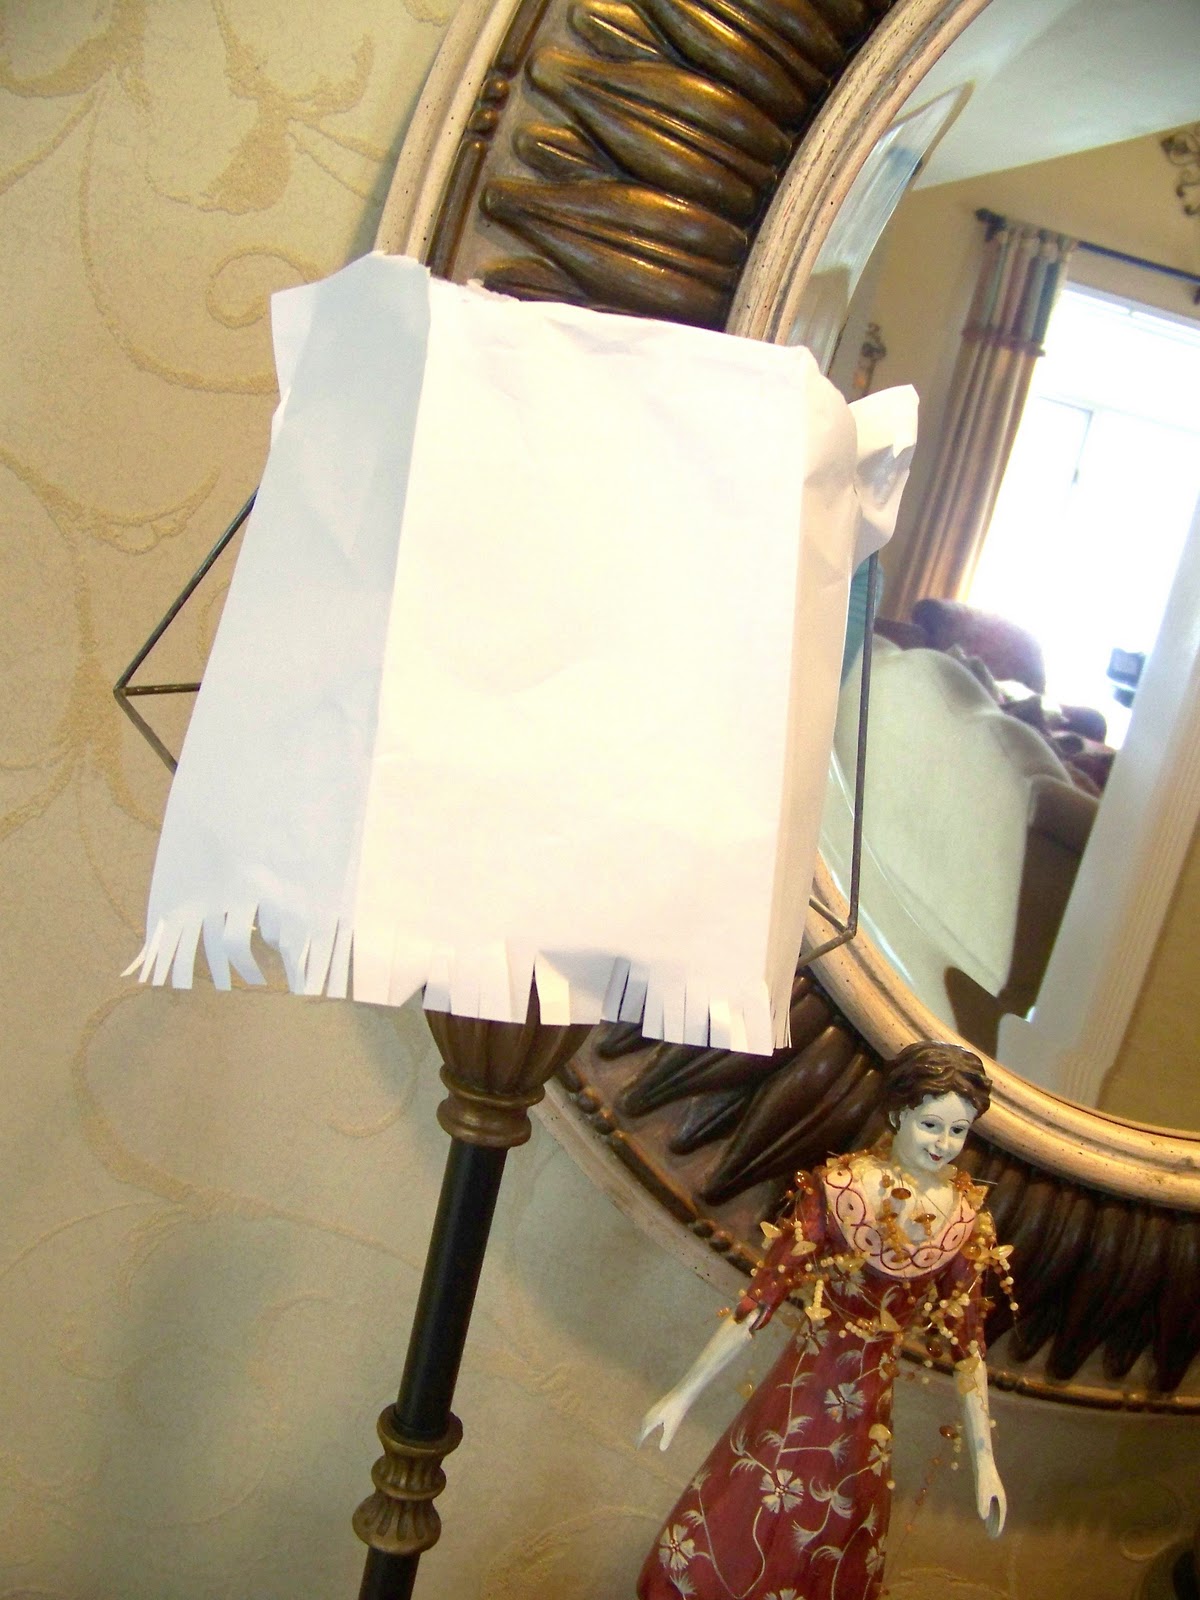
Do you like the fringe he designed?


Fist step was to line the shade. 
  I used a muslin fabric.


I Just hot glued everything.
  It looks like a BIG mess I know, but don't worry.
It will look a lot different once it is completely covered.


I then added bias tape to the inside edges to cover up any seams.


It's begining to look a lot better. 
 I was quite pleased with how the lining came out.
Sometimes I suprise myself!


I found this website for burlap HERE
 and suggested to Sharon that she order it.
So that's what she did.


Sharon had purchased some black gimp for the edges.


 Can you tell that my glue gun get a real workout! 
 It's a mess.
I guess that's a sign of a true crafter...

You can see how much neater the inside of the lampshade is
 with the bias tape covering the edges.


It was that easy. 
We had a great time visiting and also got a project done.
 Here's the new lampshade adorning the antique lamp.


Sharon's husband called to say thanks.
 He really liked the lampshade.
I think he likes it even better than the design he had in mind!


I also designed and made a new window treatment for his office.
Thought I would share it with you.


Next time you have an old lampshade
 or even a NAKED one,
 think about giving it a new look. 
I'll be linking up to the following sites...

Friday, March 25, 2011

Spring Time Wreath

It may be officially Spring
but here in Michigan it is25 degrees today.
My hands were freezing while standing outside,
 adding the final touches to my Spring Time Wreath.
Here it is....


I used Red Geraniums and white daisies.
The YELLOW tulips just cry out Spring Time.


Oh, how I want the wreath to warm up.


Gotta love the Red and White polka dot bow...


Well for now the only Spring Time I'm going to enjoy
 is my new wreath.

The weather man says cold weather is staying put
through next week!

Hope it's warm where you are at. 
I'll be linking up here
 come and follow...

Tuesday, March 15, 2011

100 Pretty Pincushions....

Have you ever taken on something
and in the middle of  doing it you ask yourself

"WHAT WAS I THINKING?"

Recently I just completed an order for 100 pincushions.
Are you asking yourself right now,
 "How long would that take to do?"

ONE YEAR!
Yep, That's right an entire year.

Here they are ready for delivery...

I was on the hunt ....
at garage sales,
thrift stores
and estate sales for all the teacups.
I love all the different colors.
But PINK is still my favorite!

Here's a close up of some of the pretty teacups.

After finding the teacups,
I had to find fabric that coordinated with each teacup.
That was a challenge!

I found two different ribbons for each teacup, to match the fabric
 and made a pretty bow.
Each teacup was then glued to a piece of glassware.


I then glued  a spoon to the saucer.
The spoon was embellished with a button and rhinestone.

So I was on the hunt for 100 spoons
and I needed 100 buttons and rhinestones....


Each teacup had 5 floral pins
that had buttons attached to one side of the pin
and a rhinestone to the other side.

Are you doing the math?

That comes out to 500 PINS,
BUTTONS
and RHINESTONES!


These pretty teacup pincushions were favors for a bridal shower.

It was a beautiful shower and everyone loved the teacups. 
They were arranged at each place setting.


In addition to the teacups,
I also made the centerpieces for the table. 

Each plate had beautiful cupcakes arranged on them.
Fresh flowers were placed inside the teacup.

The mother of the bride, who is a also a friend of mine
was thrilled with everything.
I was just thrilled because the job was done!

Never again will I do 100 pincushions.

You would think I am sick of doing pincushions,
 but I just added some to my Etsy.
 Here's a few of my latest creations. 
 Stop by and take a look.

If your a woman who loves shoes these may be for you!

(Sweet Little Vintage Baby Shoe)

(Delicate victorian Shoe Pincushion)

(Buttercup Victorian Shoe Pincushion)

( Floral Victorian Shoe Pincushion)

(Pink Rose Shoe Pincushion)

(Animal Print Shoe Pincushion)

How about a Leopard Vintage Sterling Siver Creamer Pincushion?
This is my favorite!

(Sterling Silver Leopard Pincushion)

Are you a Blue and White Gal?

(Blue and White Pincushion)
 
Is it a Teapot or Pincushion?

(Basket of Fruit Teapot Pincushion)


 If your interested in anything let me know.
I'll be linking up to...

Friday, March 11, 2011

I want those Leopard Slippers...

Yep, these leopard slippers. 

Aren't they cute?
I saw them HERE...


Are you a slipper Girl?
I am.
Always have them on inside the house.
 These are my favorite style to wear.
Either Pink....


Or Black.

I have about 5 pair and I get them at Walmart.
See the price only $7.97!


I love the ballerina stlye of slipper.
I really wanted the Patricia Green Lola Slippers,
 but I am to Frugal CHEAP to pay $37.00 plus shipping for them.
Anyway they didn't have a size 9. 

 Yep, I have big feet!

 I could justify the price,
 because  I would wear them at home every day.

But why not GLAM up my Walmart slippers? 
While purchasing the slippers at Walmart,
 I picked up some leopard print fabric. 

 I'm lucky my Walmart carries fabric
 and they have quite a nice selection.


I used a seam ripper to carefully remove the white bow.


I needed to make some bias tape with the leopard fabric.
I just love using these bias tape makers. 
They come in different sizes.

They work GREAT. 
You can purchase them at your local fabric store.


I cut 2" strips of fabric on the bias...


Inserted my fabric in the bias tape maker
and ran the iron along to set the folds.


Here's the completed piece of bias tape.


Pinned the bias tape around the slipper
 and then machine stitched it in place. 
This was a bit tricky.
  You could hand stitch the bias tape in place.
As always I was to impatient to hand stitch.

To be honest,
 I wanted to take them with me that evening to a friends house. 
 My slippers go everywhere with me.

Is that weird?
  I don't like cold feet!


Now doesn't that look better than my plain Walmart slipper?


I made a little fabric flower which I hand stitched.


Where's the BLING you ask?

Yep, I added a rhinestone button to the center of the fabric flower.


This is a quick and easy project
that will Glam up those Plain Jane Slippers!

I'll be linking this project to the following links...

Related Posts with Thumbnails