This past month has gotten away from me.
Between work, craft shows, my open house and the holidays, blogging has had to take a back seat. It always amazes me how many of you continue to blog daily no matter how busy you are.
I have LOTS to share with you
and in the coming weeks I'll show you all I have been up to.
For now, I want to share with you all my Christmas decorations.
Lots of photos. So Enjoy....


A quick Tip...
If using an artificial wreath, cut some fresh greens
and add them to the wreath.
No one will know it's artificial!

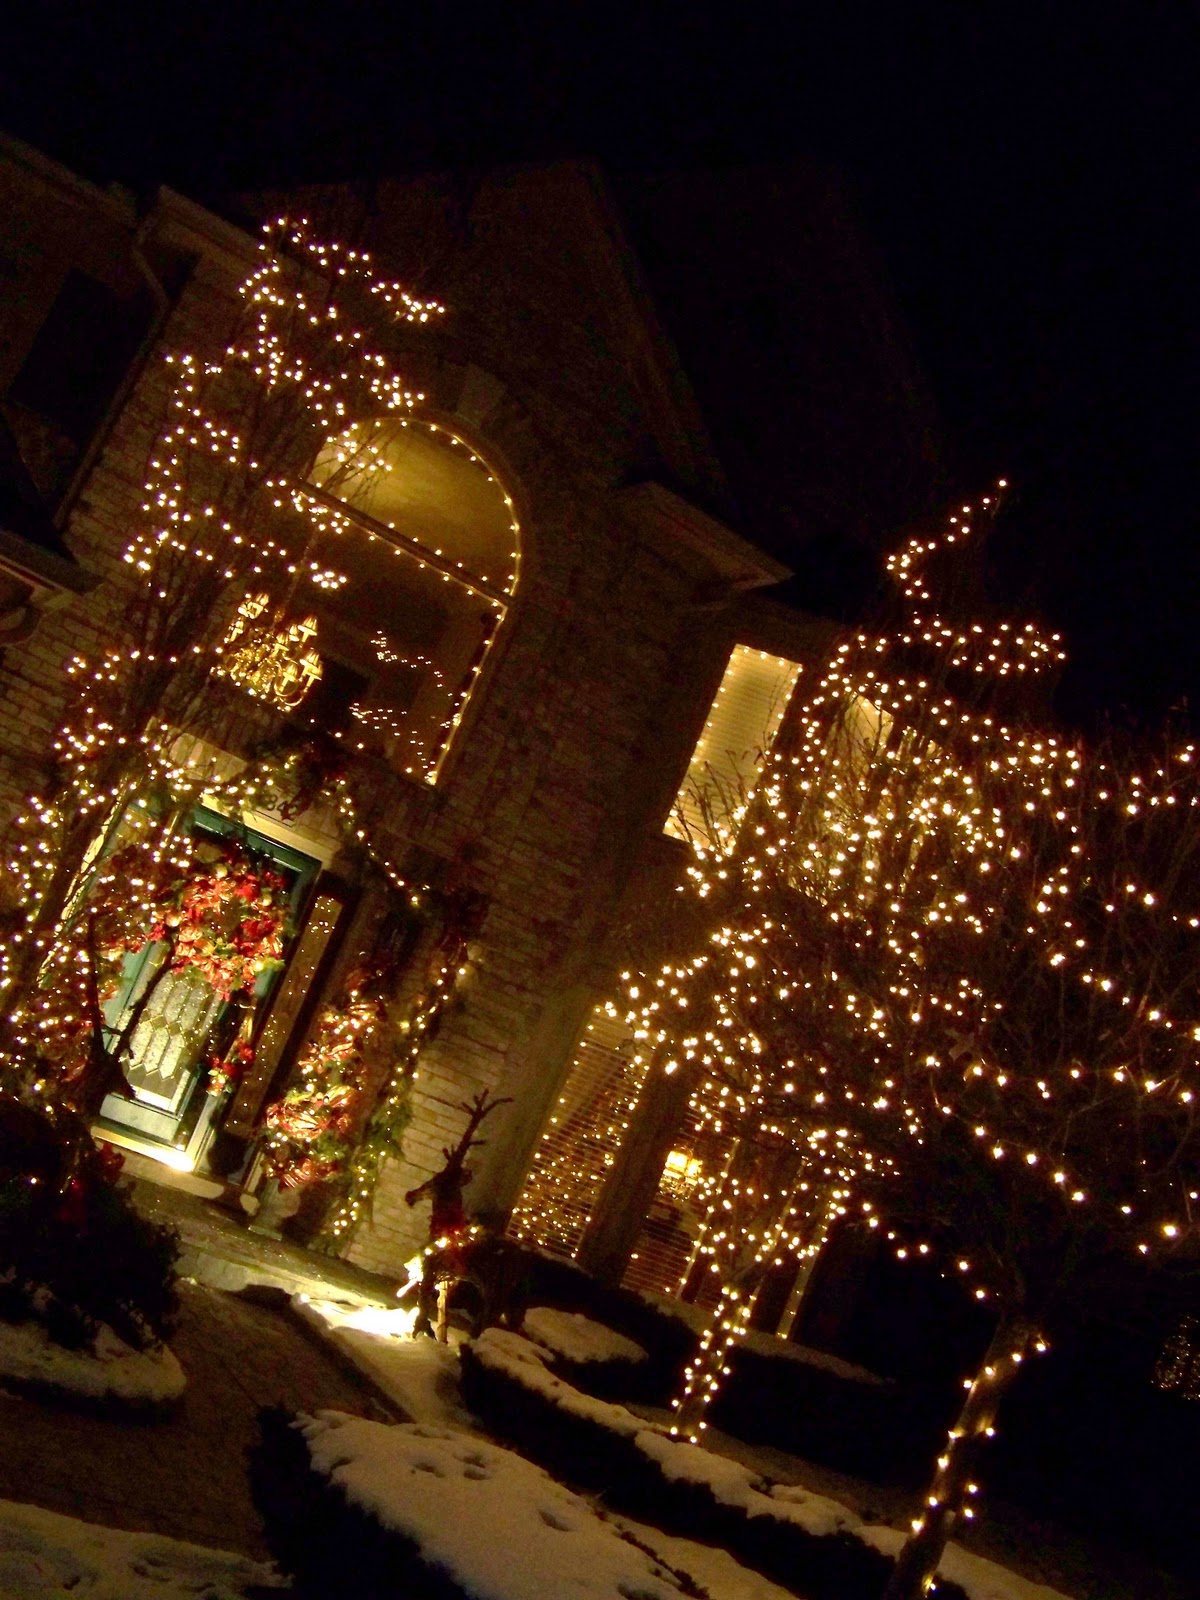
I'm a white light girl. Always have been.

It's a lot of work adding the lights to the inside of the windows,
but I love how it looks from outside.

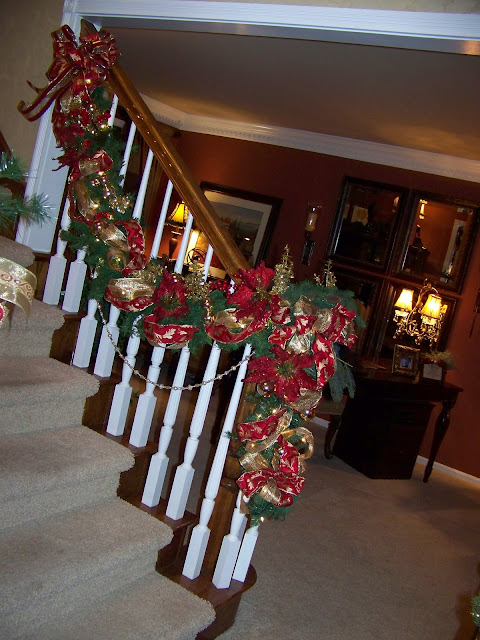
The staircase....


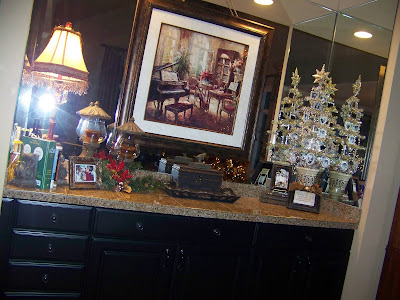
Foyer Table....


I got this decorated old ice skate at a fund raiser this year.
I added some matching ribbon ant sat it by the front door.
I may have to make some for next year!

The picture was hand painted. I just Love it!

My Door Cans... Hanging on the grandfather clock.
Take a look Here to learn how to make them.

Found this wreath last year at Hobby Lobby.
Originally $59.99.... Clearance Price $7.99!
TIP #2
Hang wreath by looping a ribbon through it and stapling the ribbon to the top edge of the door.

Tree #1
All Gold and sparkly


Gotta love the leopard ribbon.
Found it at Sam's Club. $7.99 for 50 Yards! Yhippiee!!!
Added 20 gold stars from the Dollar Tree.
That's right, only a $1.00 each!


Added a few yards of Gold Lame'
around the base of the tree for the tree skirt.


Tree #3
Snowman Tree


Tree #4
Childhood Memories

I purchased this tree and the frames
a few years ago at Hobby Lobby.
All the photos are from my husband's and my childhood.
It's one of my favorite trees!


Tree #5
Family Photos

I have always had a star on the top of my large tree.
Last year I decided to add the gold leaves around the star.
I have incorporated the same set of family photos
for the past 14 years.

I love looking at the boys when they were small
and I could dress them in matching suits and ties!


My Great Room....


The Mantel....


I added this gold beaded garland around the candles....

The gold feathers were from Michaels Crafts....


Dining room Chandelier...

Assorted glass Christmas Ornaments hang from the chandelier...


Assorted glass Christmas Ornaments hang from the chandelier...


Just added some artificial greenery, ribbon and poinsettias to this arrangement above the china cabinet.
I added a strand of lights to make it more festive in the evening.


I made this centerpiece arrangement for the dining room table...


Kitchen table and light fixture....
By adding some artificial greenery and Christmas ornaments you can easily change the look of any light fixture.

I saw these plates at Wal Mart and knew they would be perfect.

I saw these plates at Wal Mart and knew they would be perfect.
I had to have a set for the table.


What a perfect word....
HOPE

Wishing you a wonderful and Blessed New Year.
I'll be linking up to the following sites....