Tuesday, April 27, 2010

The Other Lampshade....

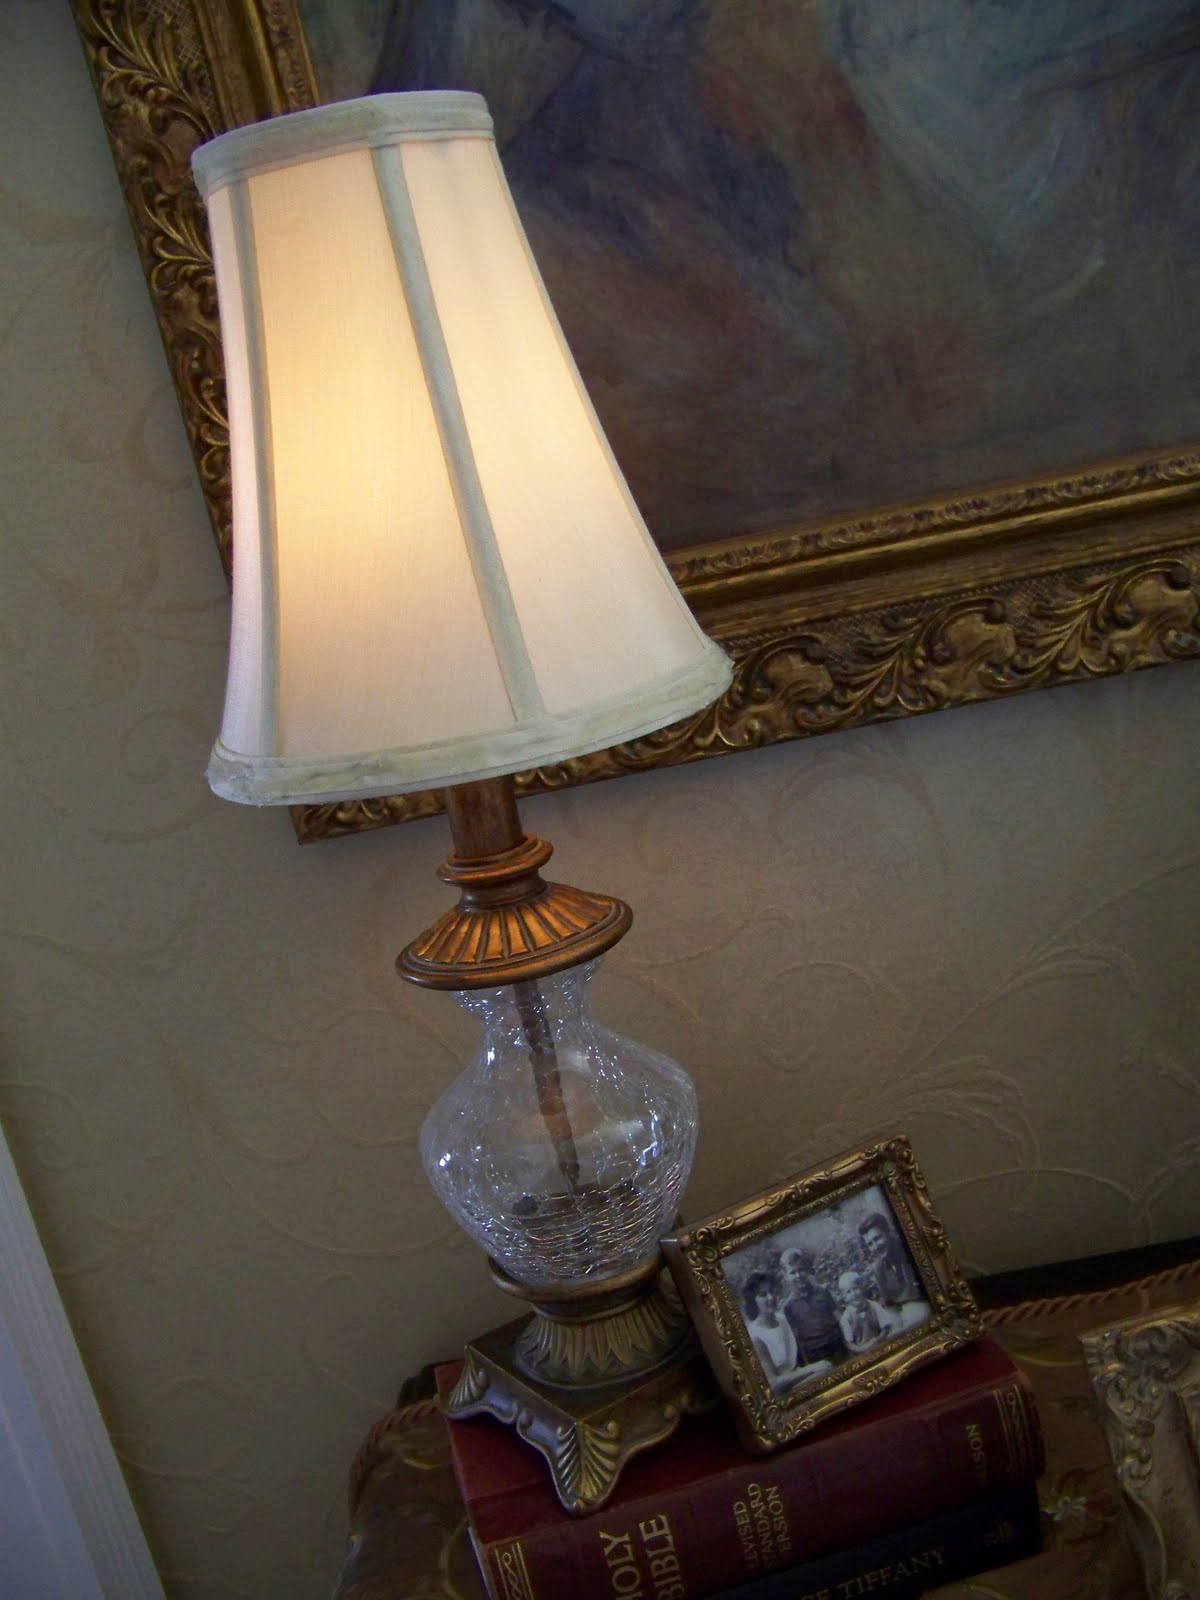
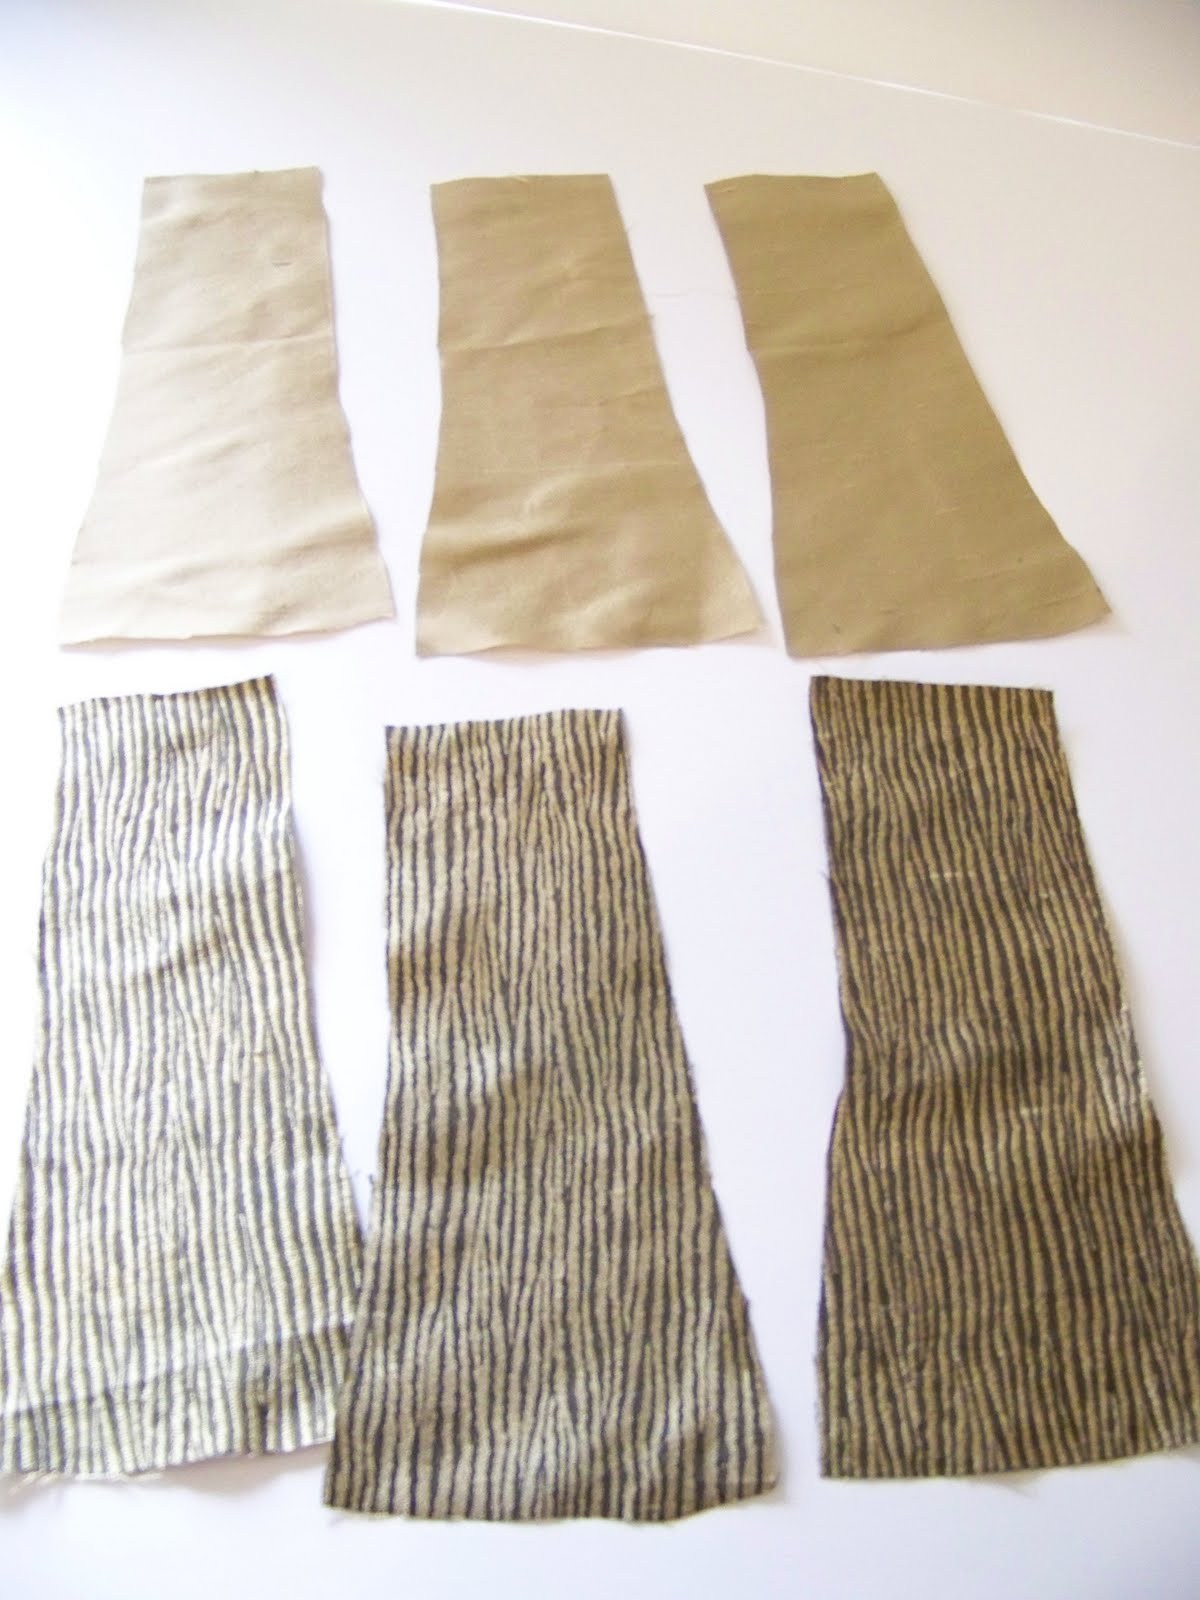
I promised I would share with you the other lampshade I created for my friend. It goes in the the same room as the lampshade I shared with you in the previous post.  I decided to once again mix it with the check fabric, but I also made a pleated ruffle out of a coordinating stripe fabric.  When I did the valance for her cottage kitchen window I used two of these fabrics, so why not pair them up for the lampshade? 
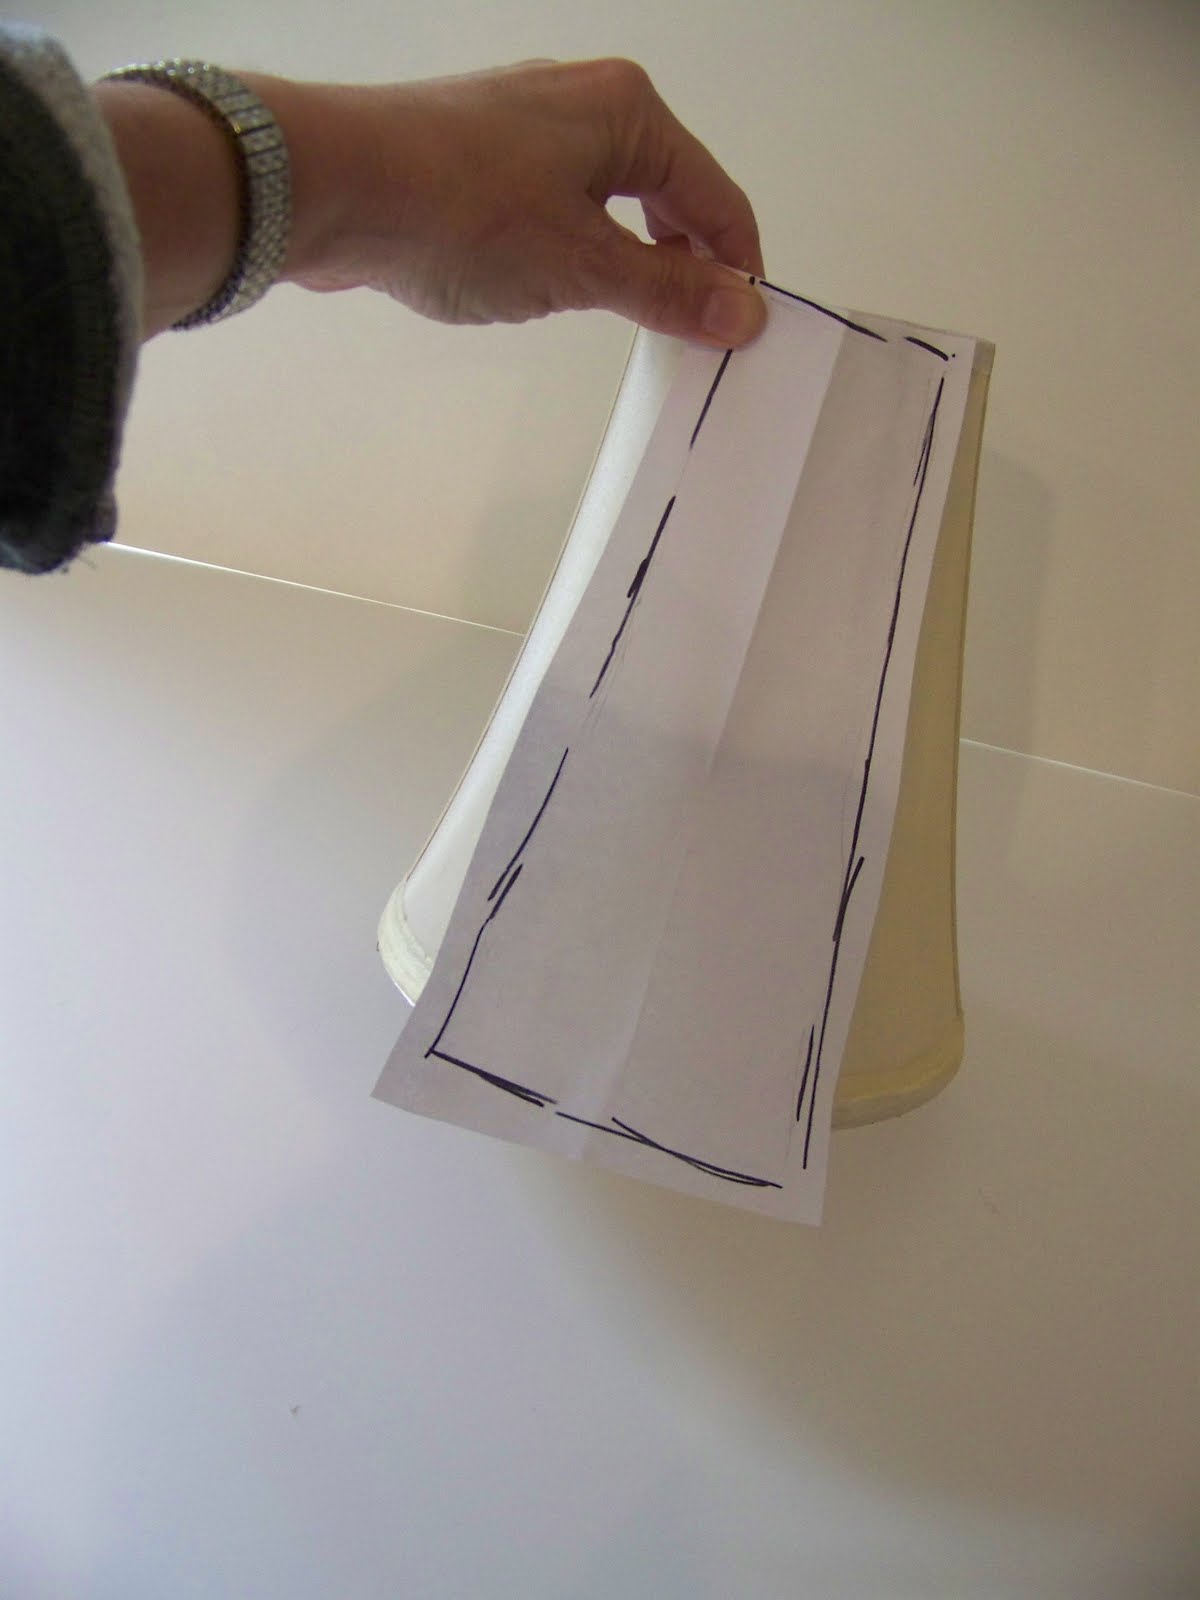
Here's the lampshade before I began...


Most of us have one of these plain shades around the house.  Why not dress it up a bit?  It's easy to do. I decided to leave the red fabric on the shade and just change every other section.


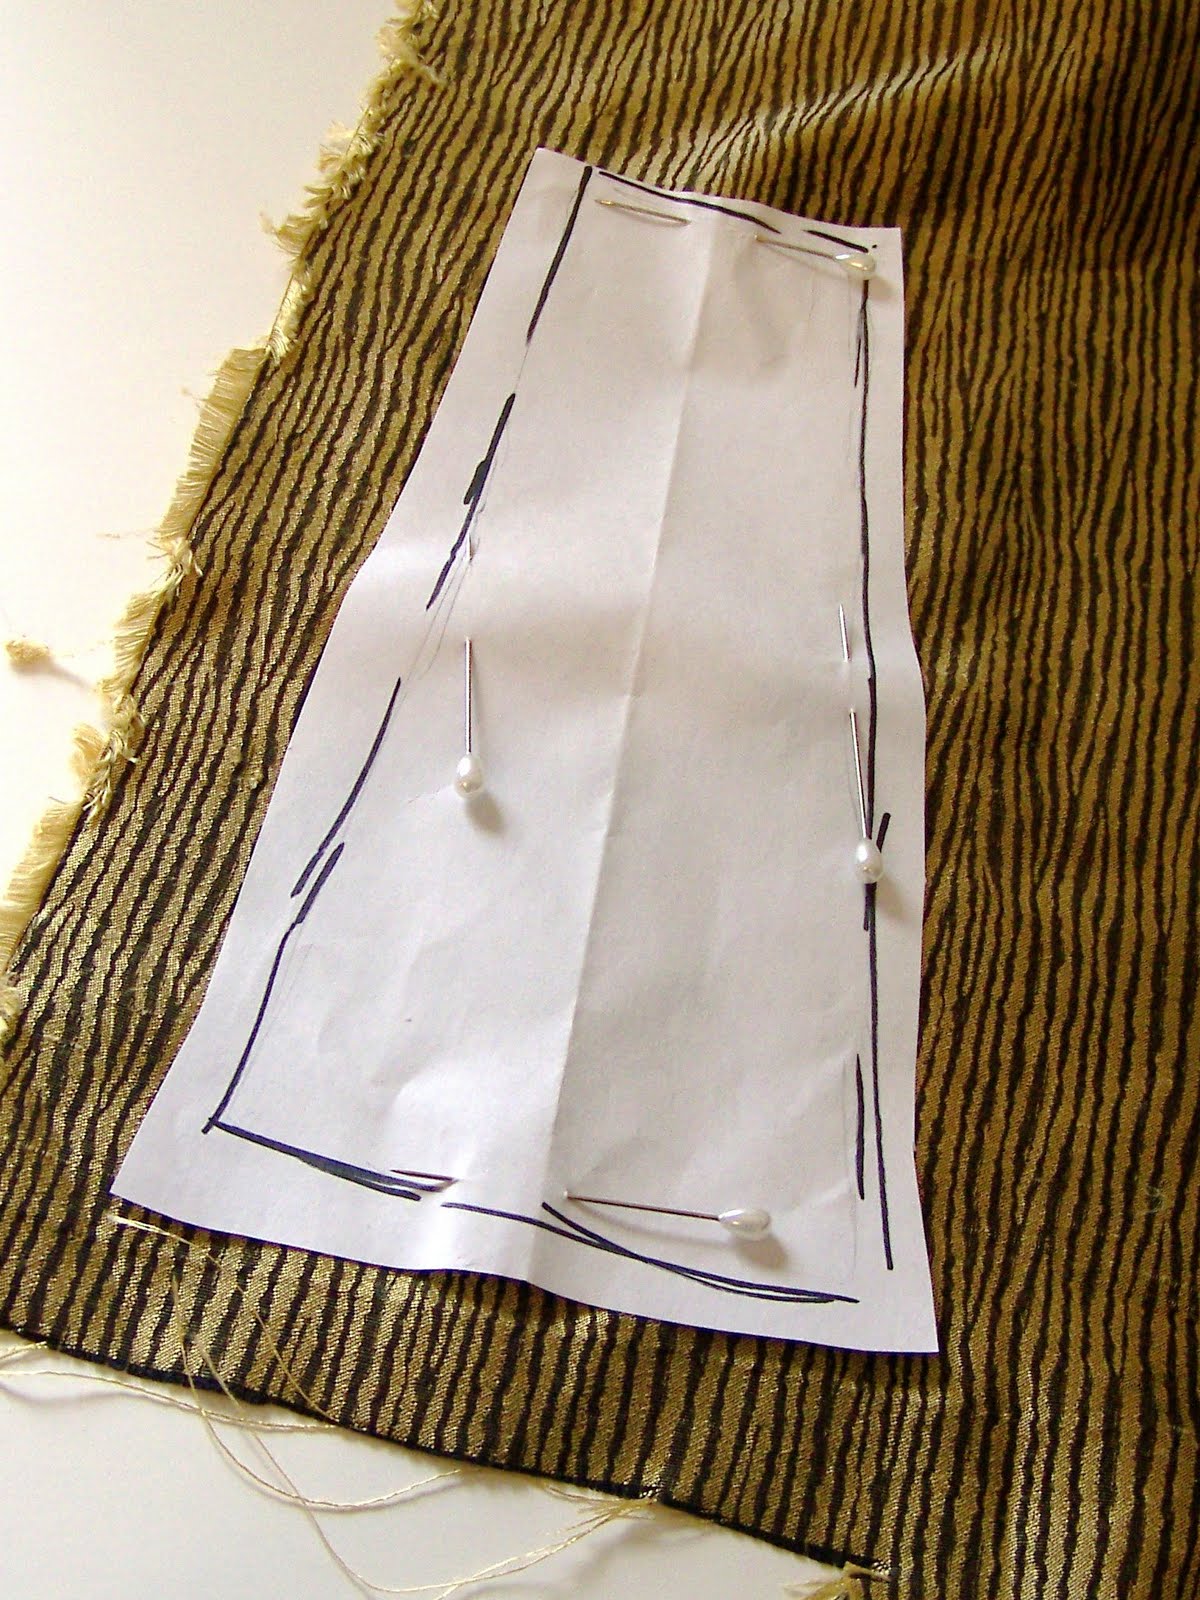
Now to make the ruffle.  I really didn't know what I was doing.  I just cut a piece of fabric about 3" wide and folded it in half (making it 1.5" wide).  Then I just began to hand pleat it.  No "rhyme or reason", and definitely not precise! That was the look I was going for.  Or at least that's what I'm telling you!


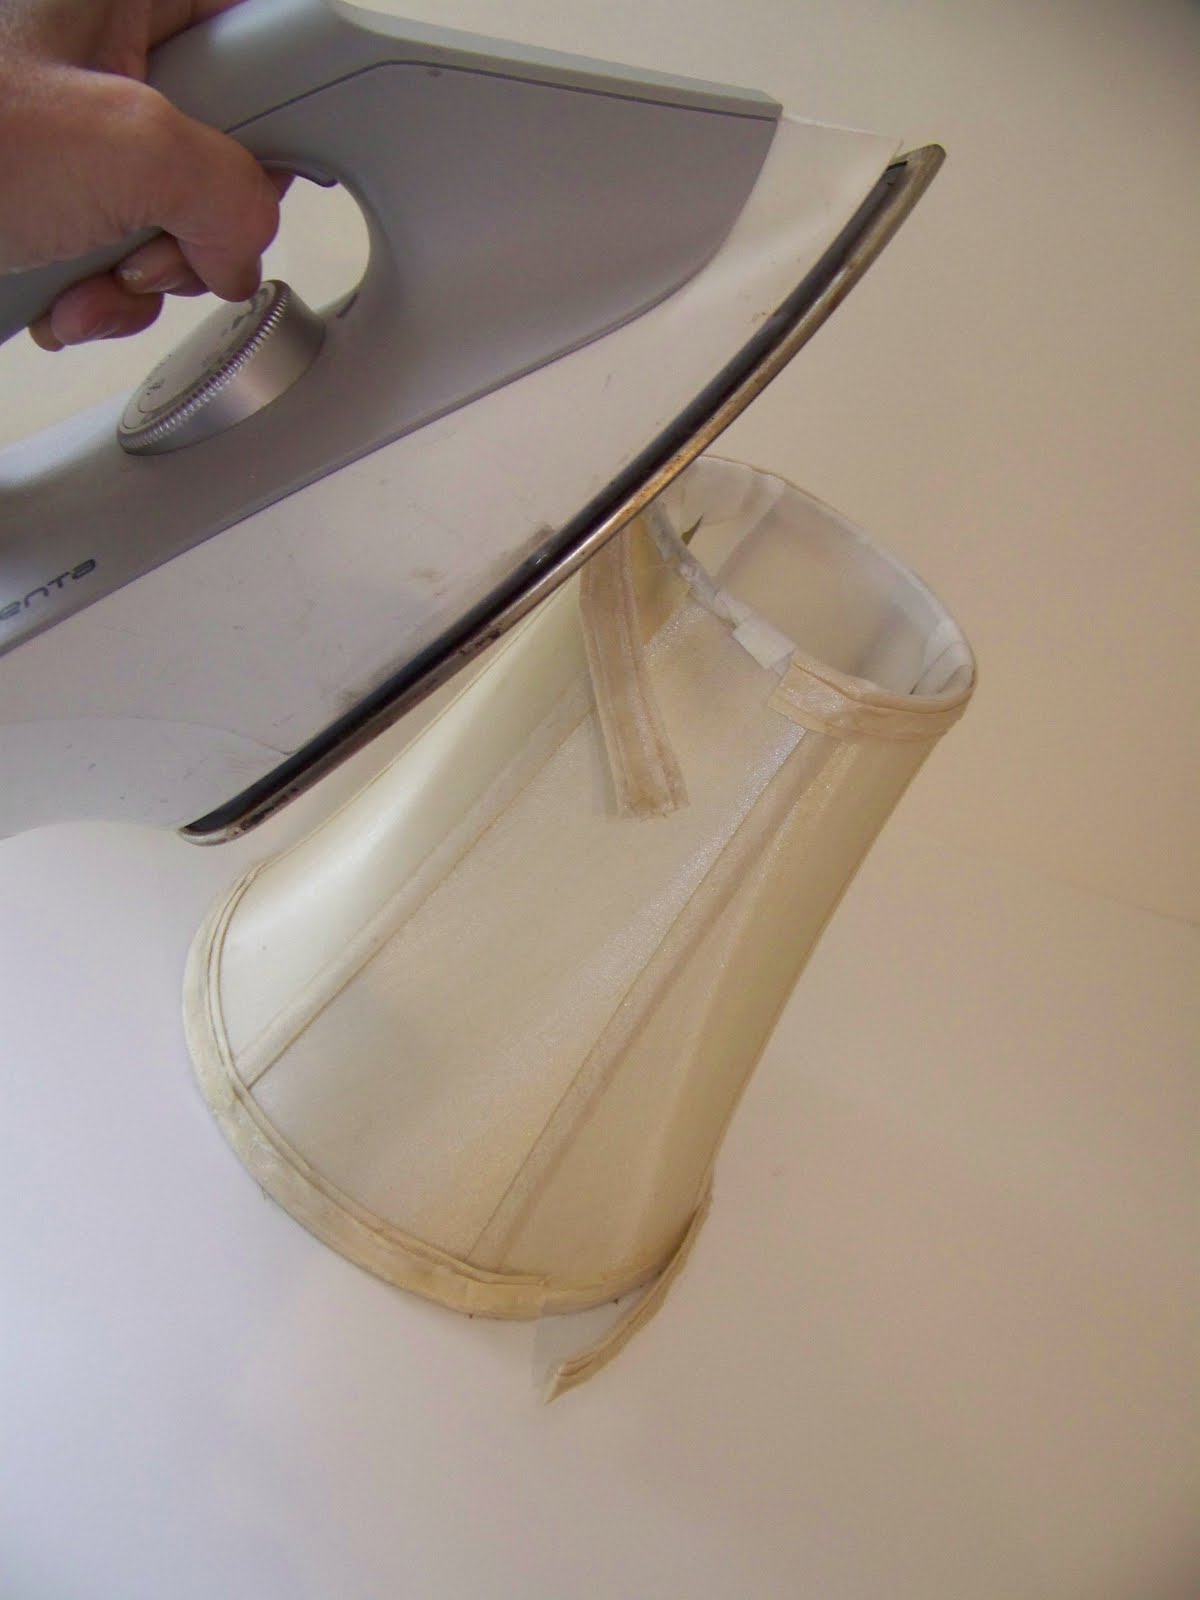
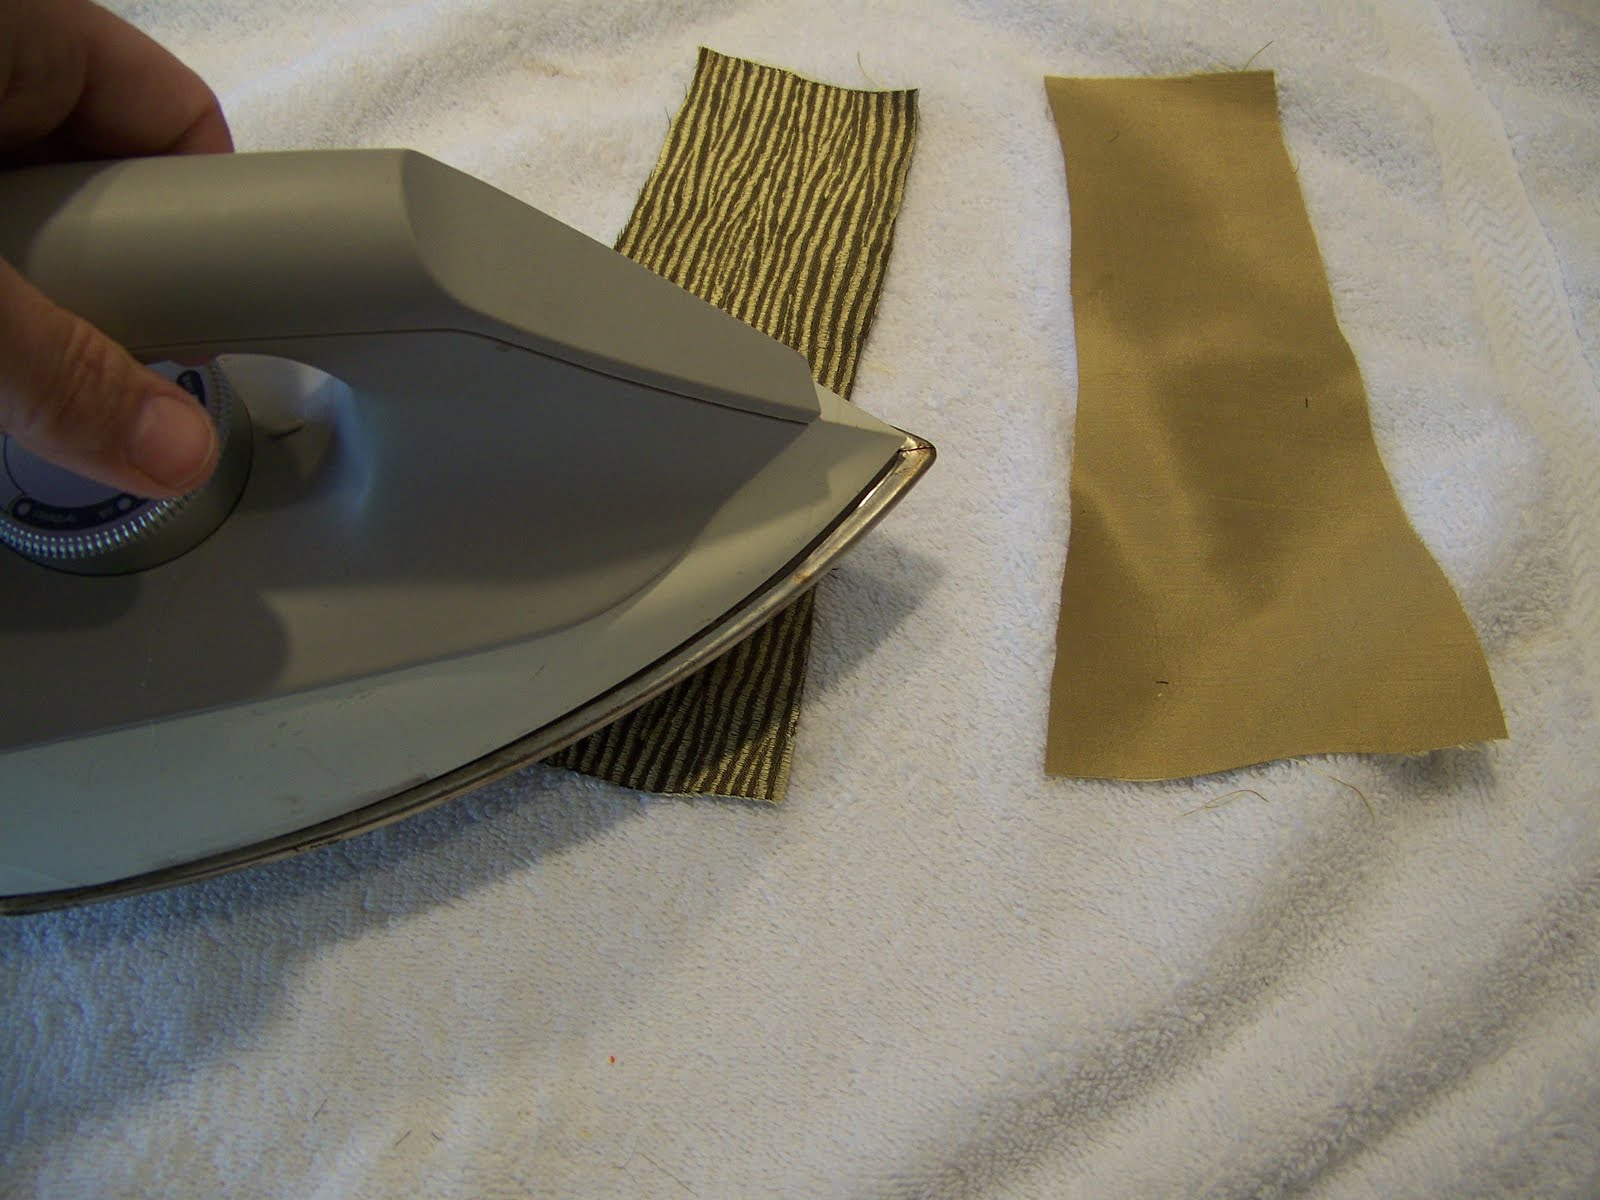
I lightly pressed the pleates to set them.


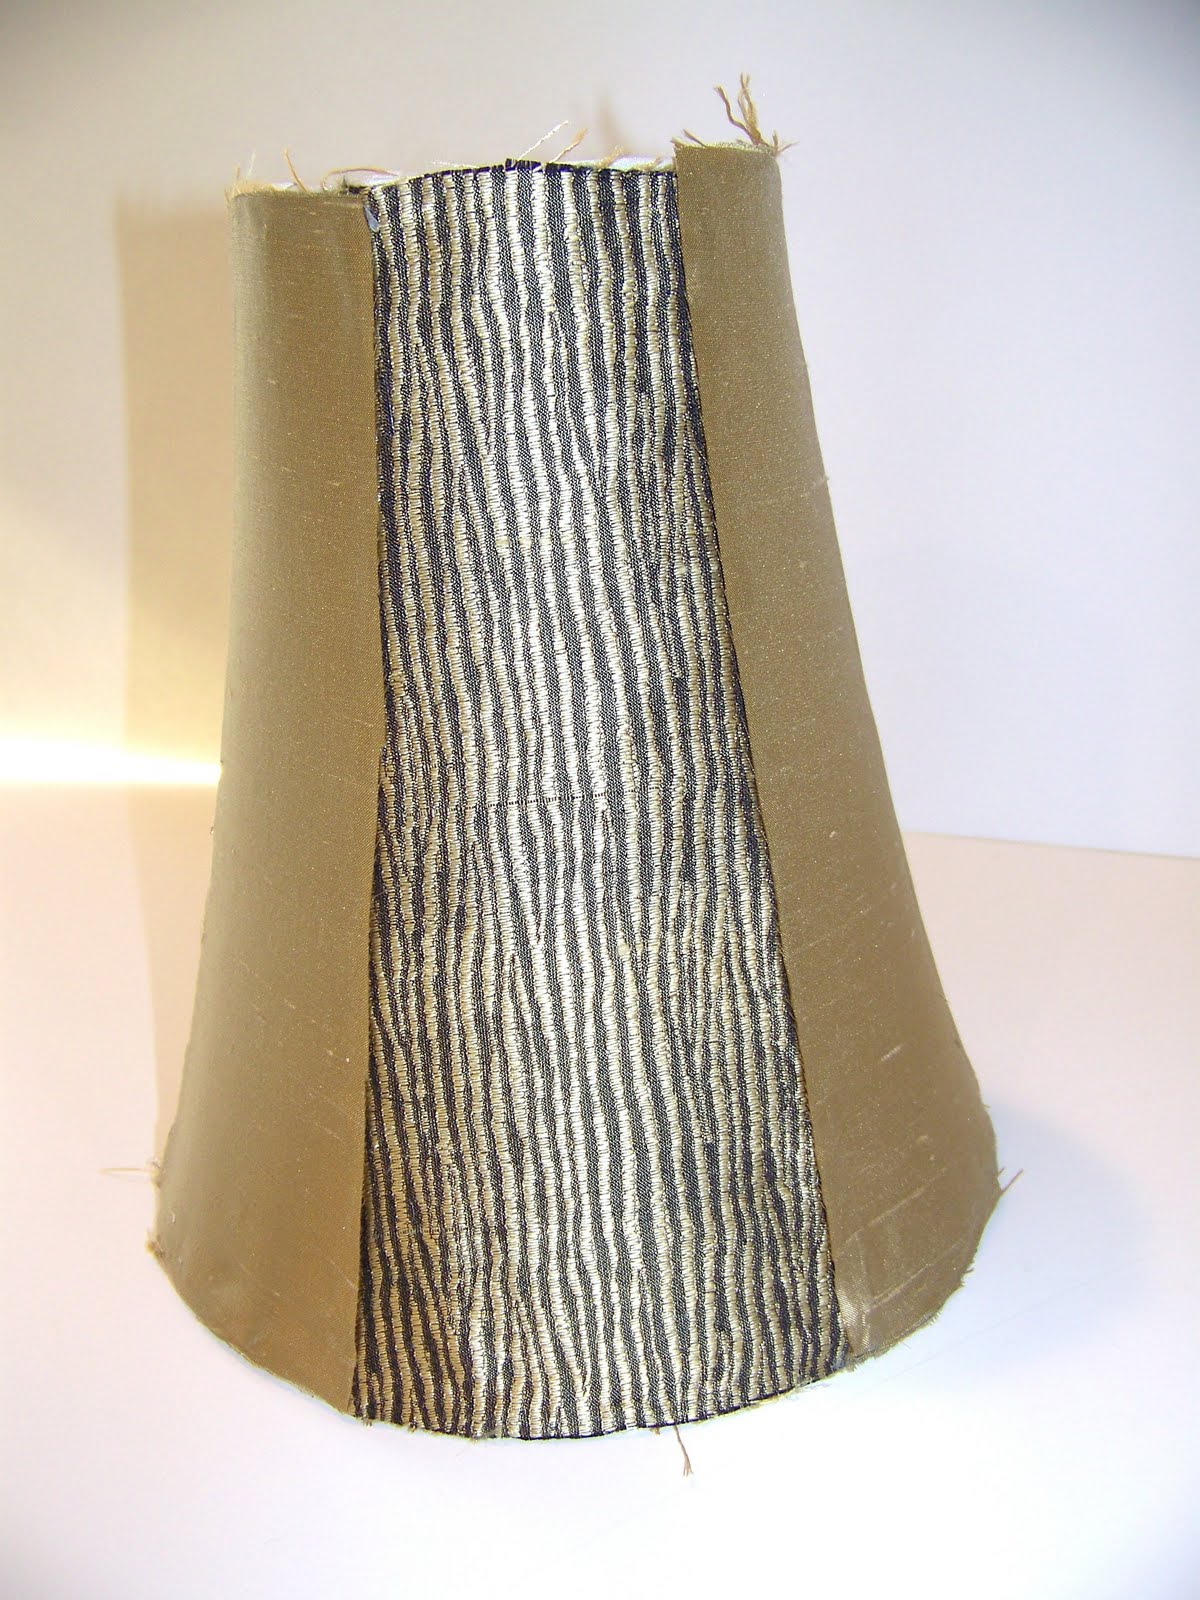
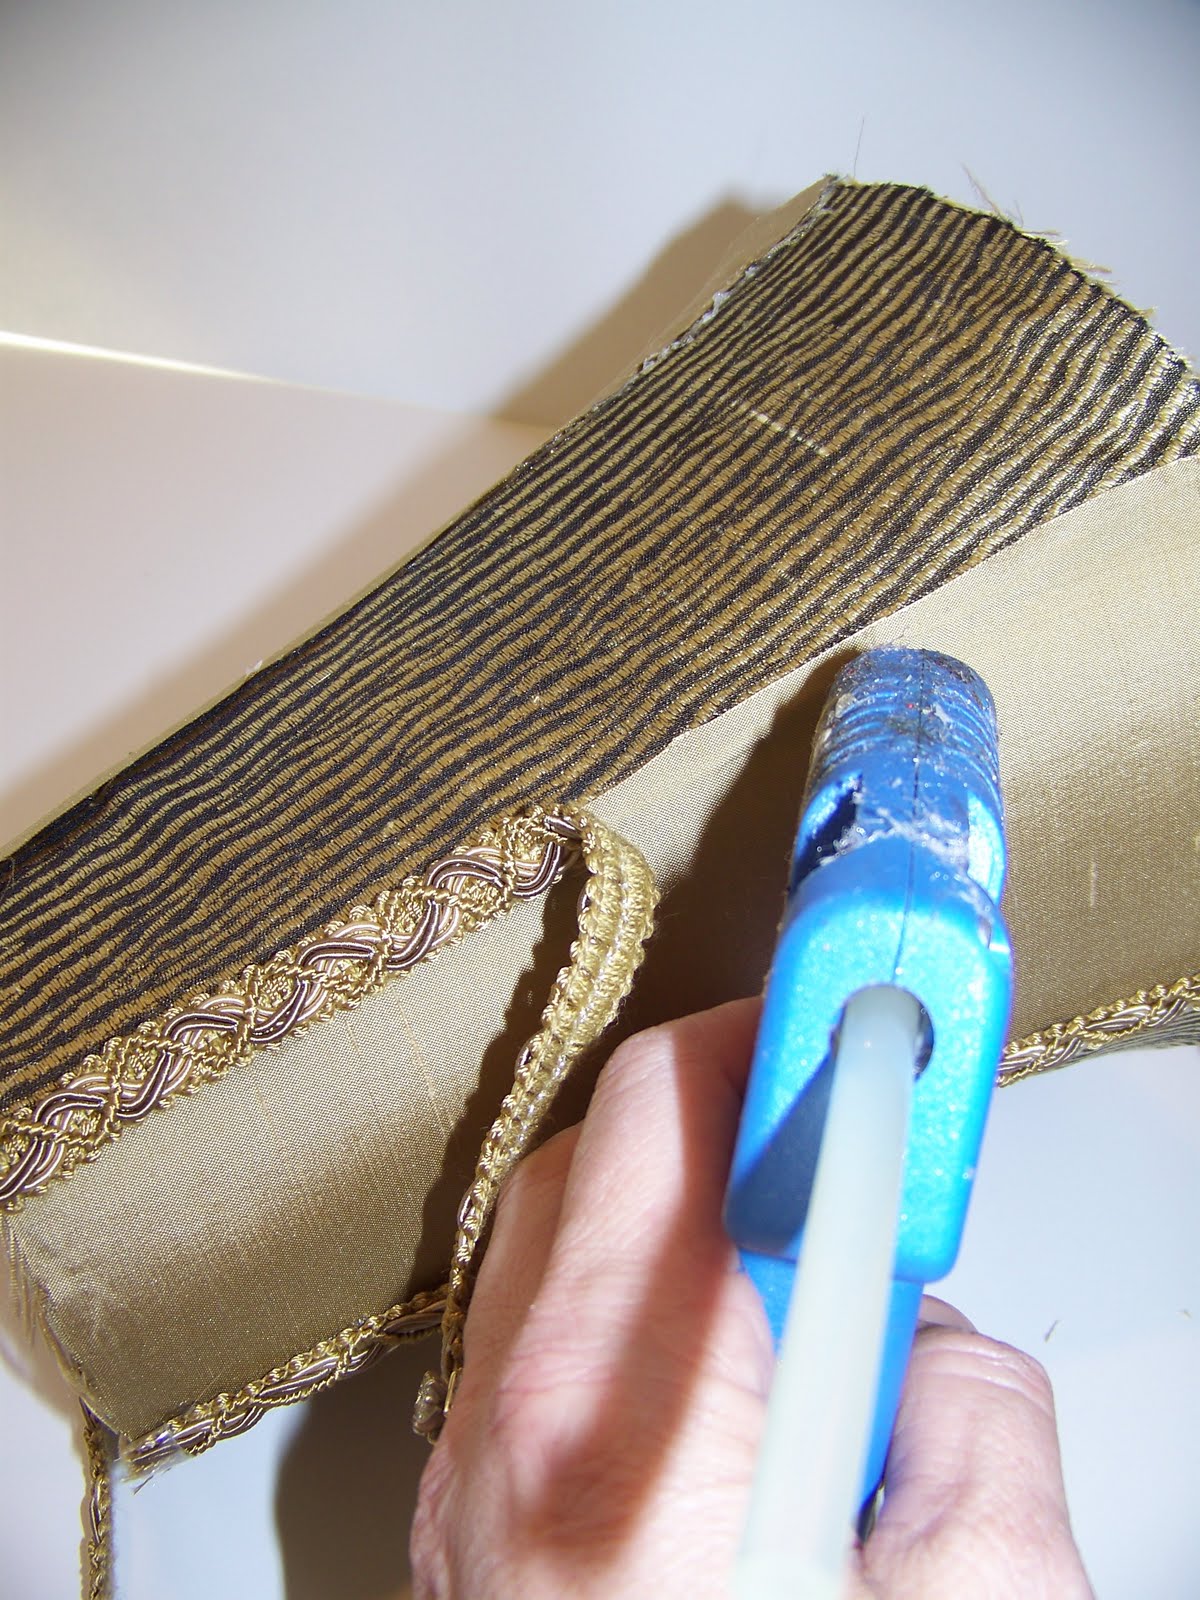
I got out my trusting glue gun
and glued it to the bottom ot the shade. 
 I know right now you are saying.
"What a Mess!"  Just wait for the trim.  It does get better.

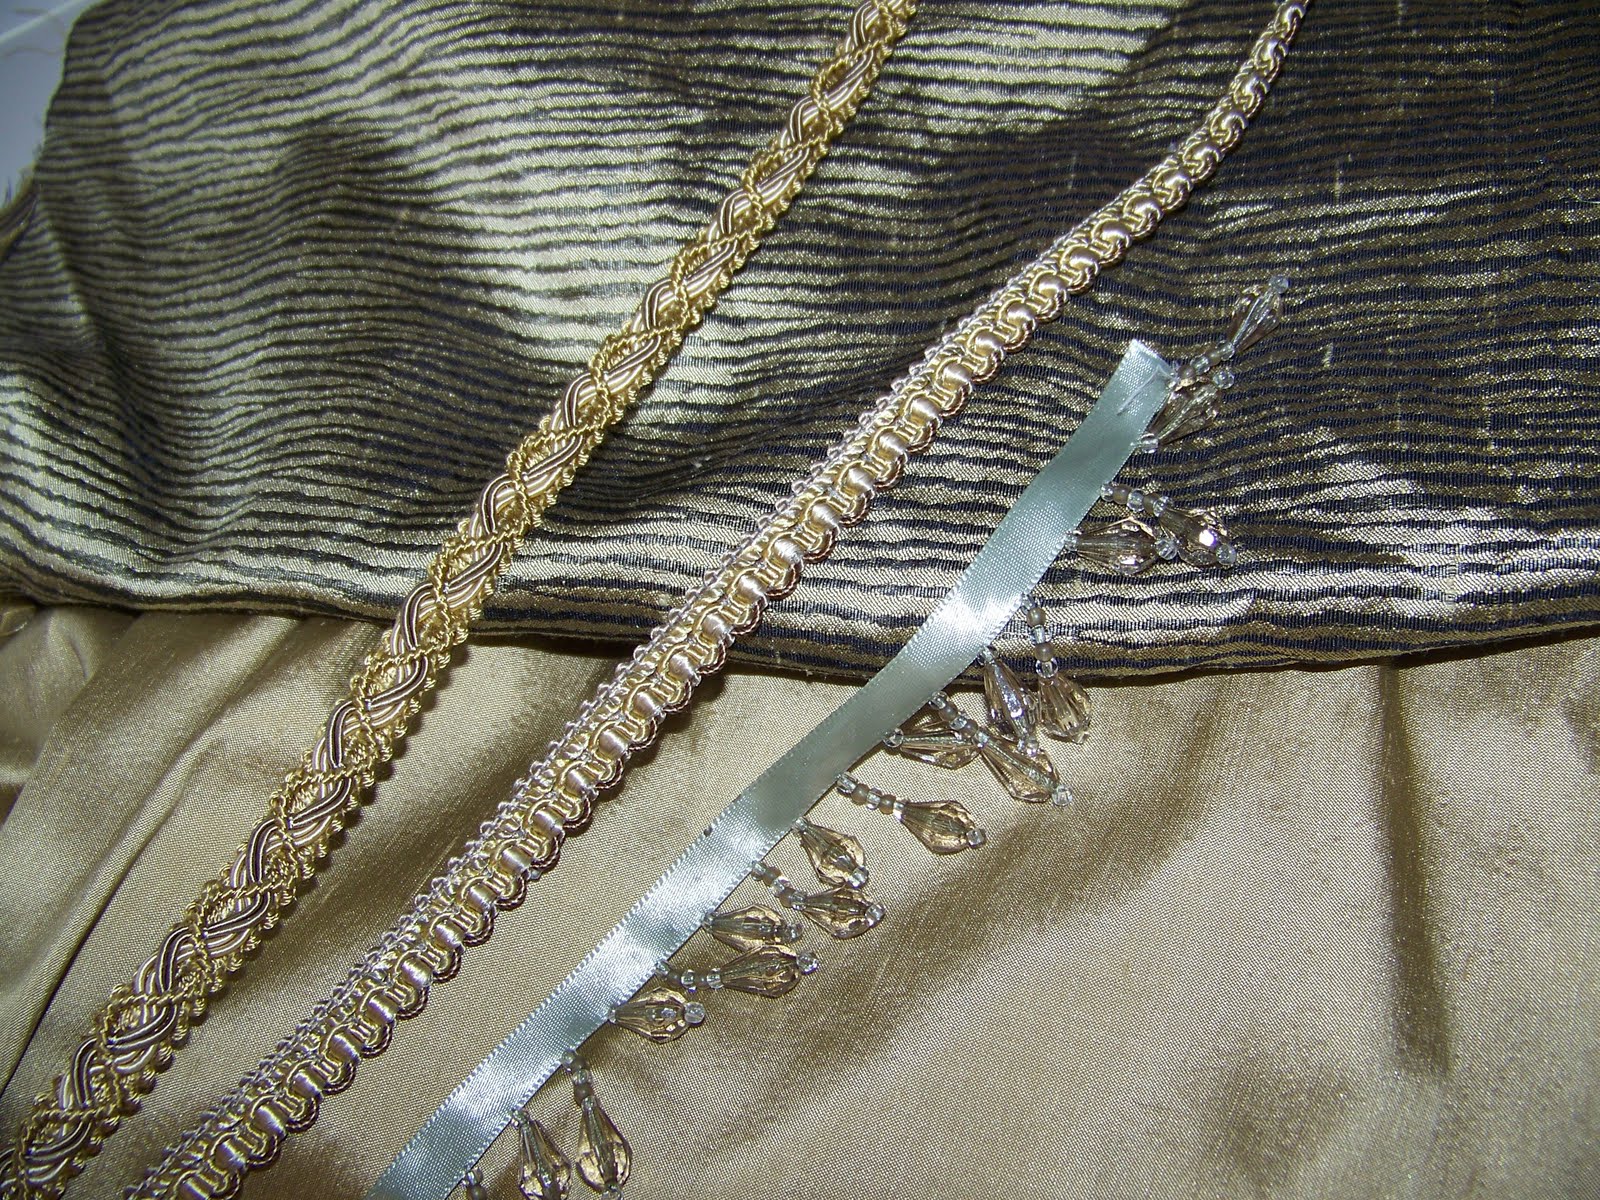
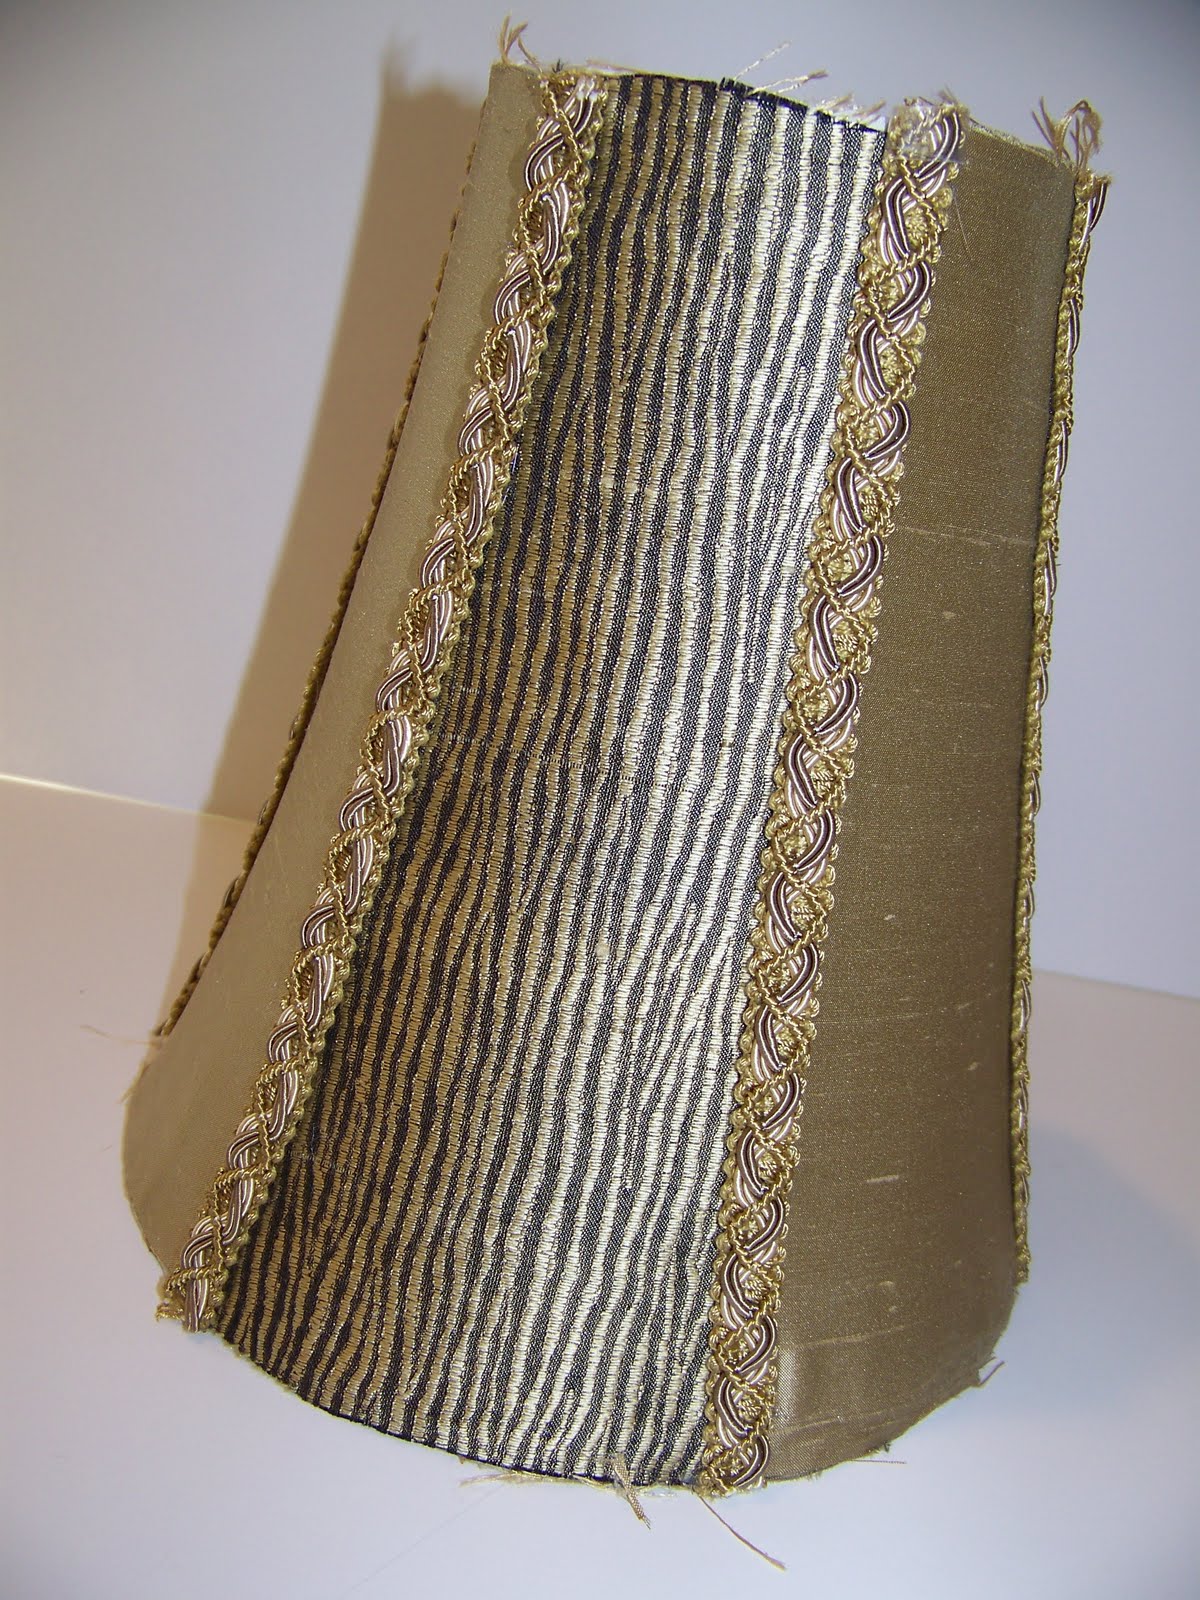
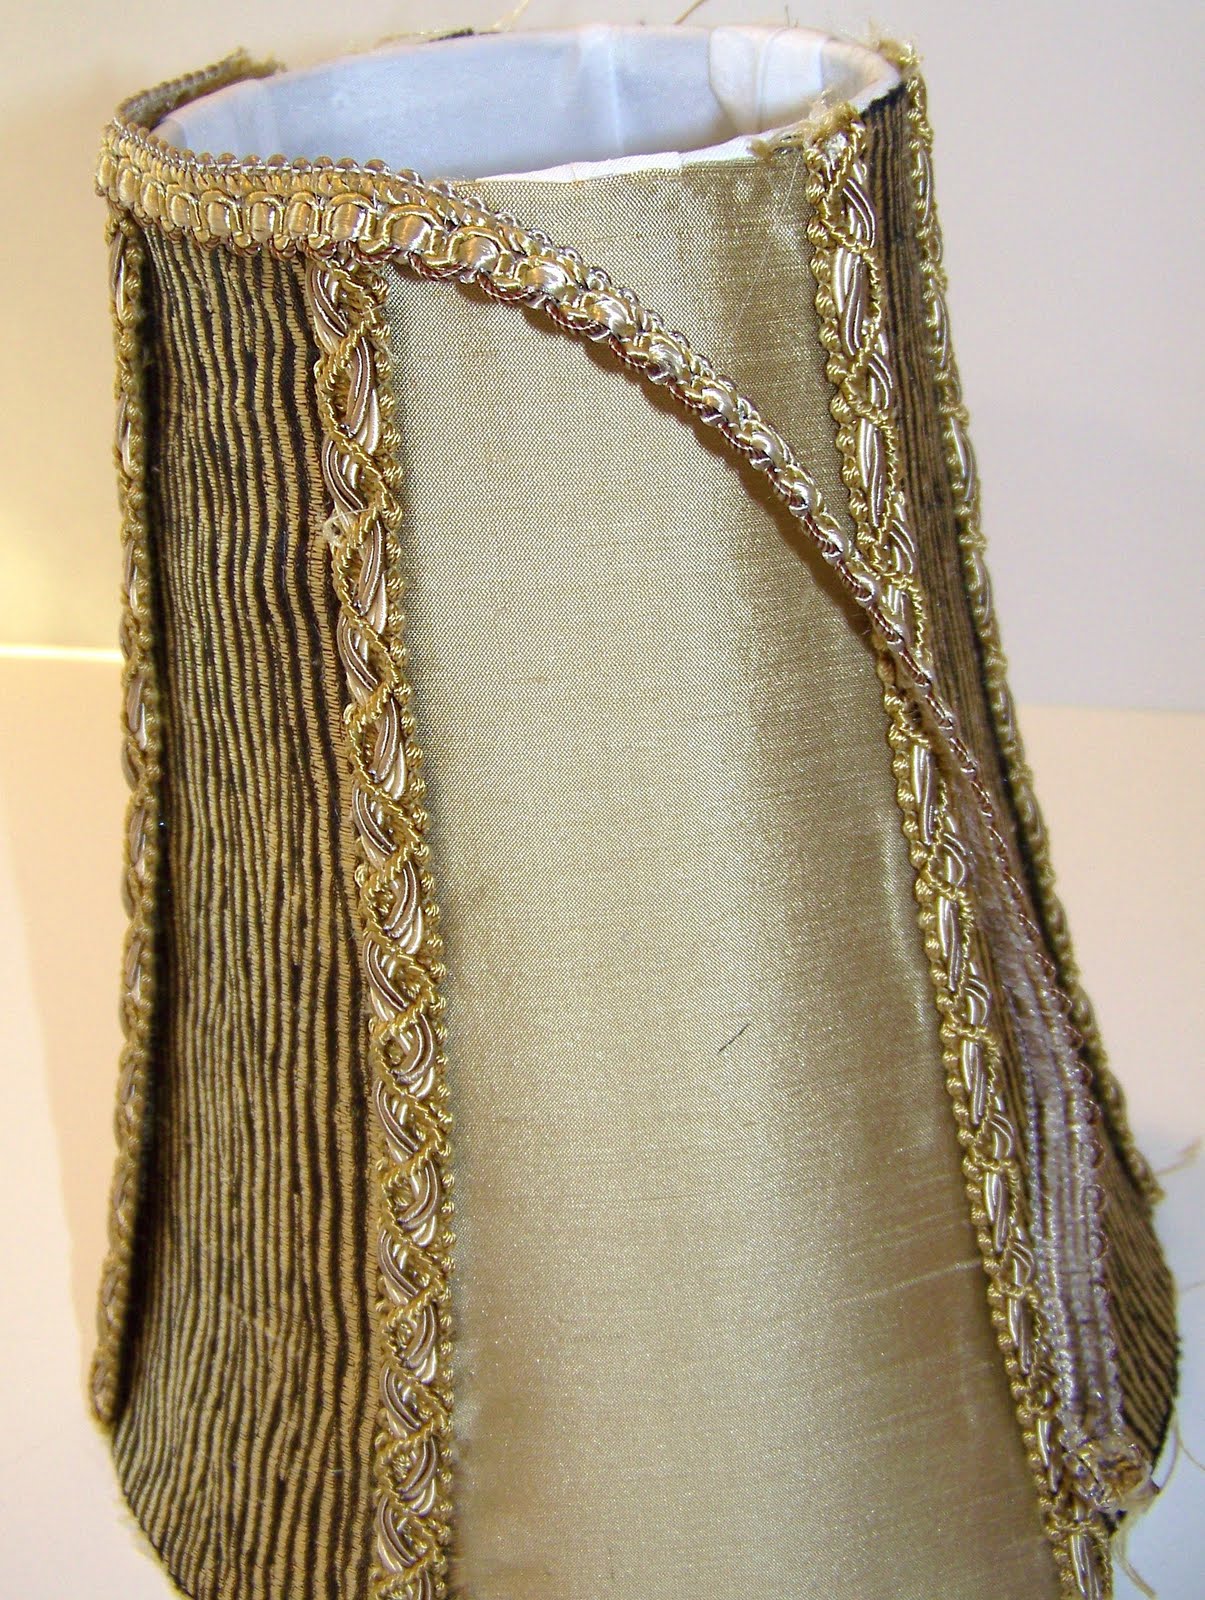
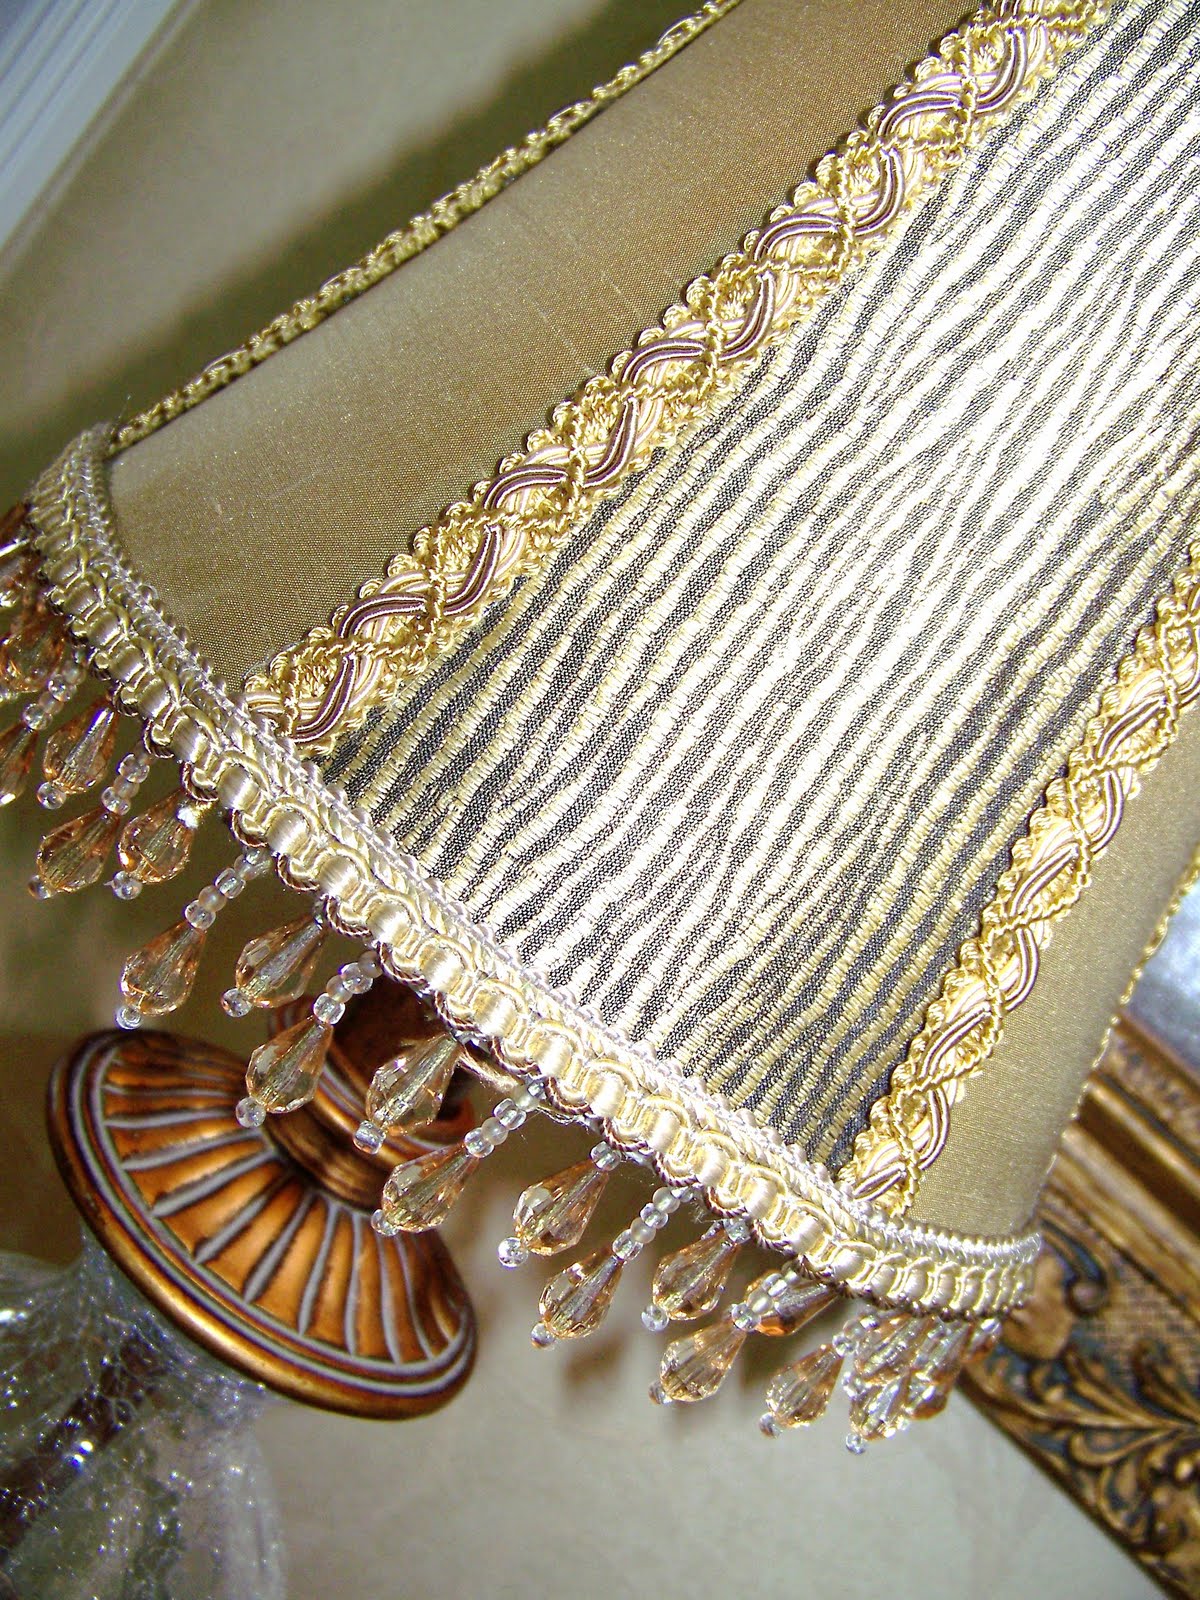
I once again used three different styles of trim that all coordinated.

Ready.....Here it is.


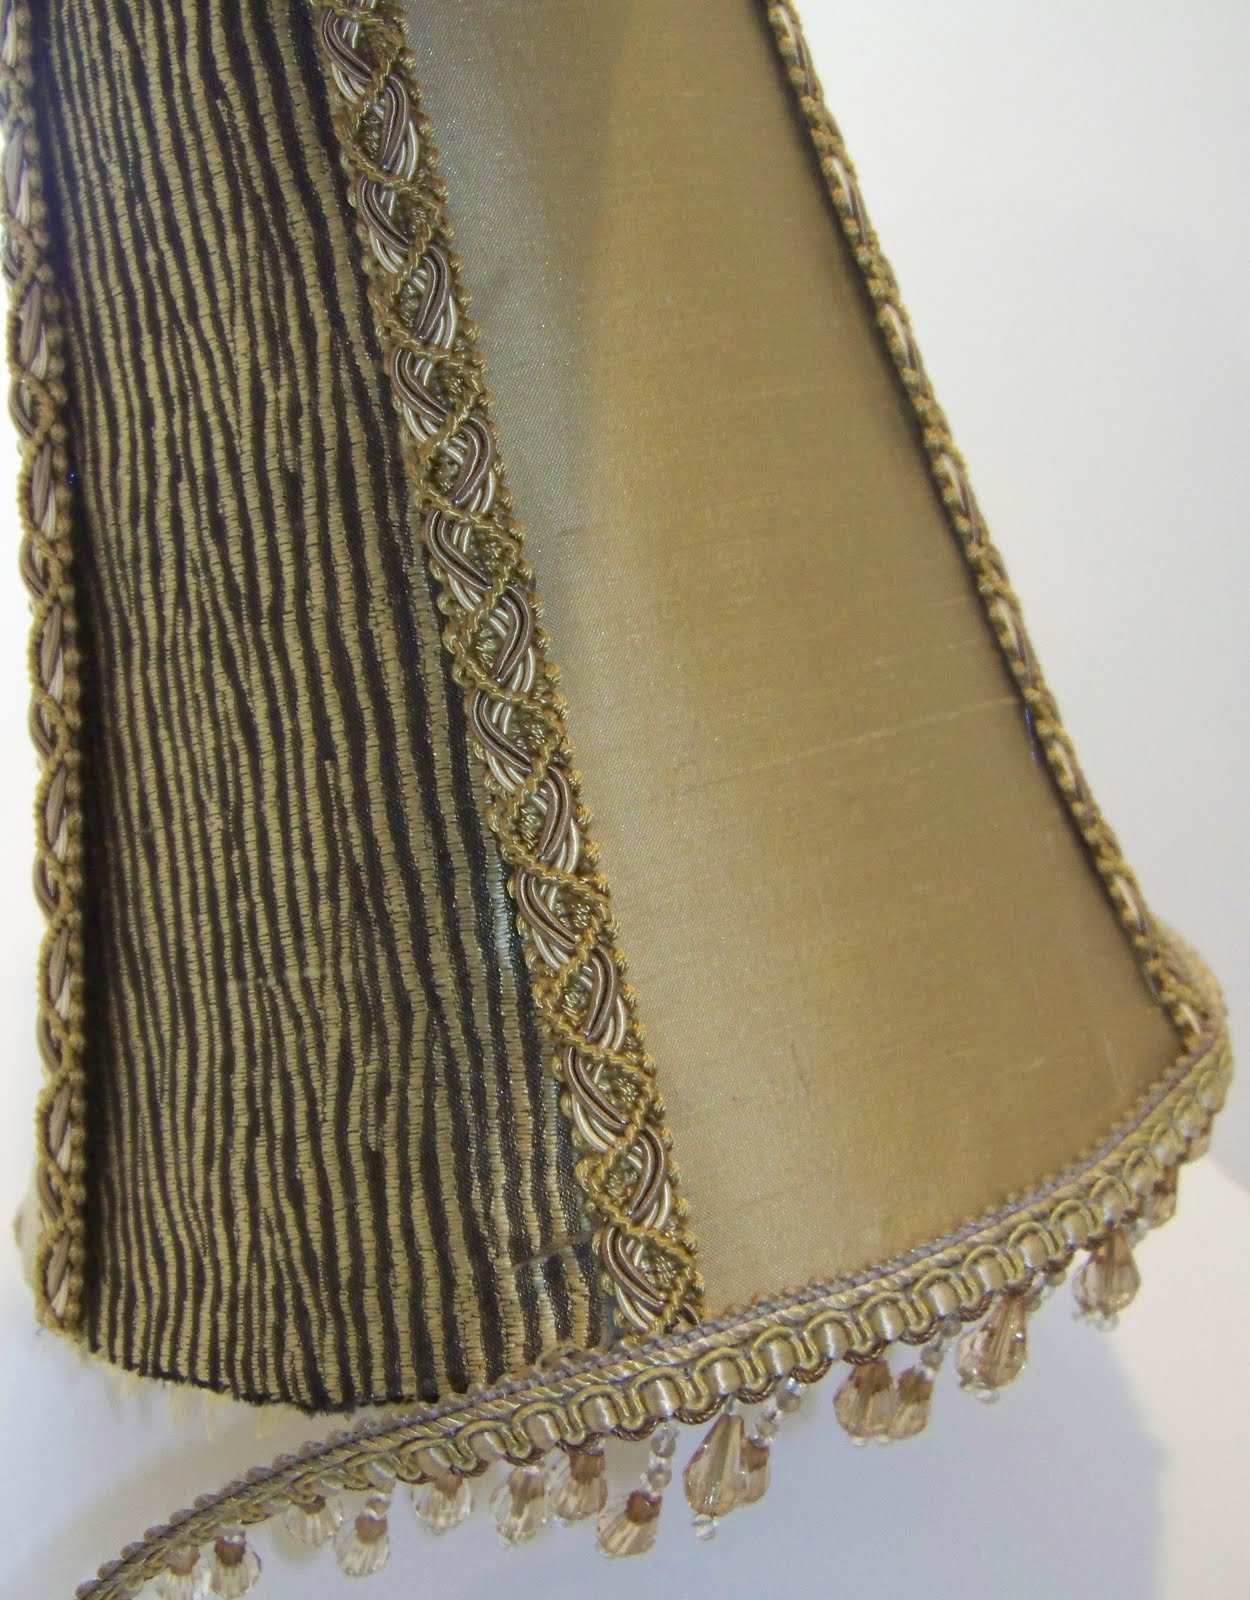
I told you the trim would make it all come together.


I really liked how thepleated ruffle came out. 
 I'll have to try this on one of my shades.

I got and email from Pattie at Pandora's Box.  She had read my Step by Step Tutorial on covering a lampshade.  She was so excited after she read it, that she decided to try one of her lampshades.  It came out great, check it out HERE.  If you try a lampshade I would love to hear from you.  It always puts a big smile on my face when I inspire someone to try out a new project and then they share it with me.  I'll be linking up to the following creative sites....

Sunday, April 25, 2010

More Lamp Shades...

I've been  busy with more lamp shades.  Last week at our couples bible study one of my friends asked if I could work some magic on two of her  "Plain Jane" lampshades.  She had some left over fabric from the window treatments that I made for her cottage.  She handed me the left over fabric and said, "do whatever you want, I trust you".  I don't know if I like when someone says that to me. I'm always worried that it won't be what they had envisioned.

Is this a "Plain Jane" shade or what?


I started with the fabric.  I just love this check fabric.

Here's a tip... 
 Use more than one style of trim. 
 It adds variety and a custom look.
I went to Hobby Lobby and selected three different styles of trim.


It's amazing how the trim really addes to the look.


Can you see how I used the trim
and layered it on top of each other?


I used the scallop trim around the top and bottom and then added the mingled colored braid on top ot the trim.

Later this week I'll share with you the other lampshade.  I'm going to try and and make my own pleated ruffle to added to the bottom of the shade.  Stop back, and I'll share it with you how I made it.  Linking up to the following creative sites. 
 Come along and visit. 

Friday, April 23, 2010

The Pink Lamp Has a New Home...

My friend Sharon and "Huntington House" partner was gifted with a curb side find.  She was excited about the her new found treasure and emailed me this photo.  She had already primed the discarded desk when she sent me this photo.  This was going to be our latest treasure which would find it's new home at the Tea Party Castle.  It didn't look like much,  but I knew that Sharon would work her painting magic.


Did I mention that she is a gifted painter?  After she had painted, we added the tulle skirt.  The tulle had a wonderful shimmer to to. Once we got the tulle on, we knew it needed a bit more "BLING".


We added two large bows and  for the BLING we added a large rhinestone in the center of the bow.


Can you ever use to many rhinestones?  I don't think so.


Take a look at the wonderful painting. 
 Sharon said it only took her about an hour to do this!


I just love the soft pastel colors. 
 I think you know by now that my favorite color is PINK!


Here's a close up of all the detail painting.  Visit Sharon's blog "Great Paint for Great Homes",
and see some of her other wonderful projects.


Remember the lamp re-do from my previous post? 
Well now the girly lamp  has found it's new home. 
 It is perched on top of the new desk at the Tea  Party Castle. 


The desk was also given a crystal drawer pull for some extra Bling!  I think the lamp and the desk are a perfect pair.  I enjoyed working with Sharon on another project.  It's fun to work with someone who is so creative. Once you start working together it's amazing  what you can create.

Well the weekend is here and there's lots of creative ideas to read about.  I'll be linking up this creation at the following sites....
Design-Aholic

Tuesday, April 20, 2010

The finished Pink Pretty Lamp...

I shared earlier last week HERE my pretty pink lampshade transformation, now here is the completed project.  As I told you my partner Sharon was painting the lampshade.  I can't paint a stick figure, and she does absolutely beautiful work so she was in charge of the painting part of the project.  She did a wonderful job. 

Here's the lamps before Sharon began the project...


The lampshade (which I was in charge of) had matching green bias trim.


We wanted the lamp to be a pretty pink for our Tea Party Castle Display.  So Sharon started to work her MAGIC.
Doesn't she make it look easy?


Here's a close up once it was complete.... 


Can you see the pretty flower with the white polka dots?


The finial matches the lampshade trim perfectly!


Here's the completed project.... 
 I think we make a great team.  I can't paint, but give me a glue gun and some frilly trim with a bit of bling and I'll work my magic!


I just love the eyelash trim with the tiny pink beads. 
Wouldn't this be perfect for any little girls room.


When shoping at a thrift store or if you are out and about this spring on a garage sale hunt,  make sure you snatch up that old lamp that no one is looking at. You can easily change that old lamp into a new creation!  Stop by and see more creative ideas at the following sites.  That's where I'll be linking up...

Sunday, April 18, 2010

It's a Lampshade Re-Do......

Last week Cheri, from "It's So Very Cheri", asked me to do a guest post  for her Thursday Tute.  I wanted to share a project that was easy to do, but had a big transformation. So if you didn't see the tutorial over at It's So Very Cheri,  I’m going to share with you  my "TUTE".  Here's the step by step instuctions to turn an Ordinary lampshade into something extra-ordinary.


 Let me first share with you my ordinary lampshade.


I like the style of the lampshade.
 It has good “bones” but it’s just to plain for my taste.


Now it’s time to started transforming this lampshade. First step is to gather your materials. I always use a few different fabrics and trims. I decided to cover this lampshade in a solid gold silk with a coordinating print fabric. The fabric was a gold silk fabric that had a black stripe.It almost looks like a thin zebra print. Next, I selected a beaded trim, and two different braid trims.


Let’s get to work… The first step is to remove the bias trim from the lampshade. Here’s a trick. Use the steam from your iron to heat up the glue that holds the bias tape to the lampshade. This makes the bias tape very easy to pull off and you won’t rip the shade.


Once all the bias tape is removed, we need to make a pattern. Simply take a piece of paper and trace one of the sections with a marker. (Make sure the marker does not bleed onto the lampshade)


Pin your pattern onto your fabric and cut out the pattern.


This lampshade had six sections,
so I needed to cut 3 pieces of each of my two different fabrics.


Now is the time to iron the fabric. Make sure you get all the wrinkles out. Once it’s on your lampshade
 you want it to look perfect!


Let’s heat up your glue gun and start to glue the sections onto the lampshade. Run a bead of glue along the top edge of the first section, and then continue down one side. Place the glue directly on top of the bias tape. When you have finished gluing down one side, continue on the other side of the section. Finish by gluing the bottom of the fabric to the lampshade.


Now you can begin to use the other coordinating fabric. Glue the fabric to the section that is next to the section you just completed. Continue gluing each section alternating fabric patterns, until you have done the entire lampshade. This may look a bit messy but just wait, the trim makes all the difference.


Let's  start putting the trim on. You won’t believe how much this changes the look. Run a bead of glue where the two different fabrics meet each other.

Continue working all the way around the lampshade
. Can you see how the trim hides any little problems.


Next step is to use the other braided trim and glue it to the top edge of the lampshade. When you get all the way around turn under the raw edge and overlap the trim and glue.


Now to finish off the bottom of the shade. First step is to glue on the beaded trim. This can be done just like the top edge.


When using beaded trim, the ribbon edge needs to be covered to give it a professional look. I used the same braid trim as I did on the top of the lampshade. Just glue the braid directly on top of the ribbon on the beaded trim. Didn’t I tell you that the trim really added a lot!


Now for the fun part…..
 Place the lampshade onto the lamp and turn on the light.


It’s time to admire your creation.
 A one of a kind custom lampshade.


Hard to believe it’s the same lampshade, isn’t it?


Whenever possible I love to use the beaded trim. I like the “Sparkle” it adds when the lights are turned on! Take a look around your house and turn that ordinary lampshade into something extra-ordinary. It’s easy and you can do it. If you re-do one of your lampshades I'd love for you to send me a photo.
I'll be linking up to the following creative sites:

Related Posts with Thumbnails